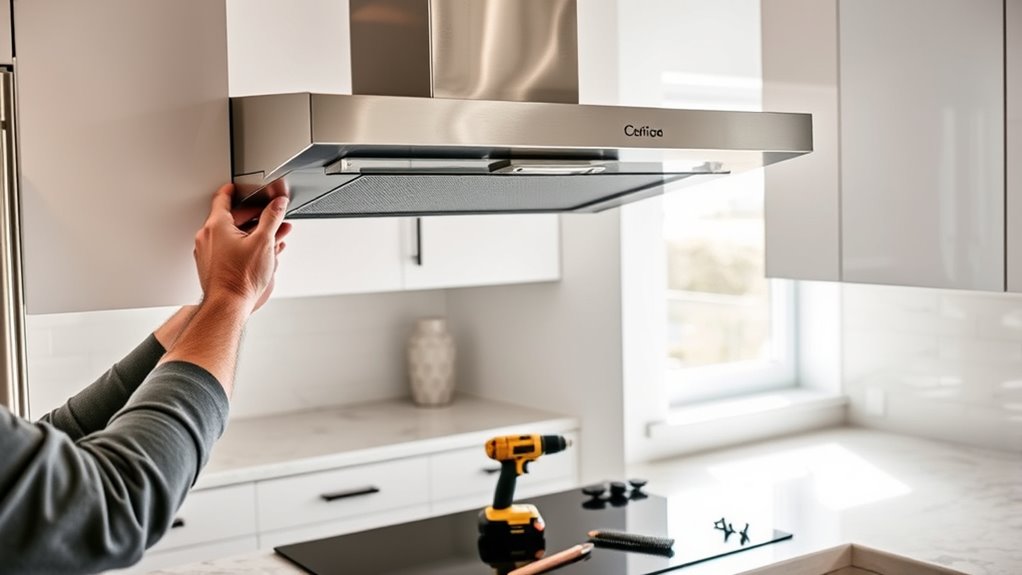
How to Install a Microwave Exhaust Fan Over the Range
Cooking can quickly fill your kitchen with smoke, steam, and lingering odors, especially when your range lacks proper ventilation. You’re not alone—many homeowners struggle to find the right microwave exhaust fan and install it correctly.
To install a microwave exhaust fan over your range, review the manufacturer’s clearances, gather tools, and measure the range and cabinet space. Choose wall, roof, or recirculating ventilation, then locate studs and verify a grounded power supply.
Level and secure the mounting bracket. Lift the microwave into place, and tighten its mounting bolts. Connect and seal the ductwork, restore power, and test the fan, light, door, and controls. The steps below explain each detail clearly.
Key Takeaways
- Review the manufacturer’s instructions, verify clearances, and measure the range, cabinets, studs, outlet, and microwave dimensions.
- Choose external wall, roof, or recirculating ventilation, then plan properly sized ductwork with minimal bends.
- Level and securely fasten the mounting bracket to wall studs or suitable anchors according to the installation template.
- With assistance, lift the microwave onto the bracket, align it, and tighten the mounting bolts evenly through the cabinet.
- Seal duct joints, complete grounded electrical connections, restore power, and test the fan, lighting, door, and ventilation.
Check Microwave Exhaust Fan Requirements
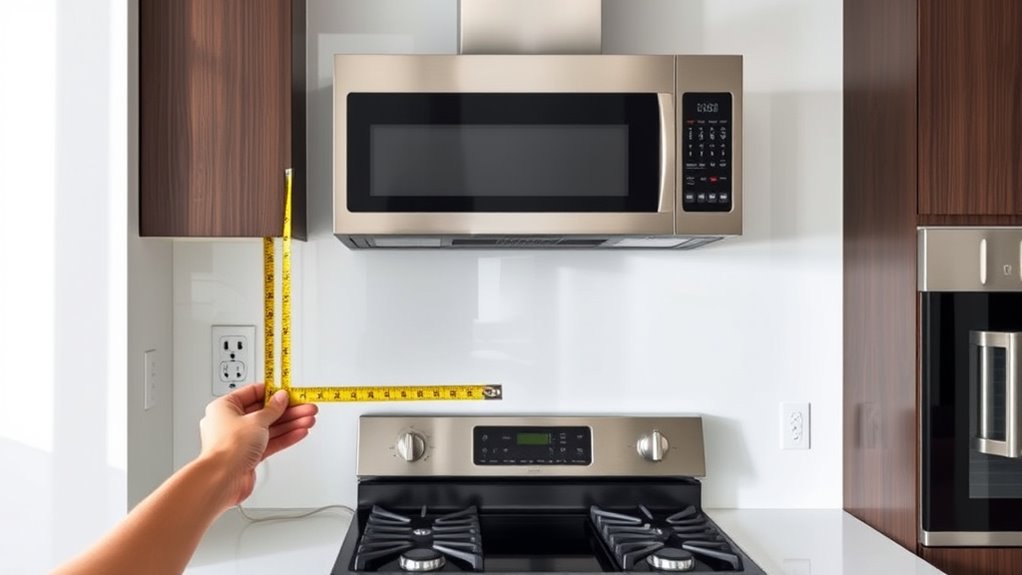
Before installing a microwave exhaust fan, check the manufacturer’s requirements for ventilation, electrical power, clearances, and mounting. Read the installation manual carefully, because each model may support different venting configurations, including recirculating, horizontal, or vertical exhaust. Confirm that your cabinet, wall, or roof layout matches the approved option.
Measure the space above your range and verify the required distance between the cooking surface and microwave. Check cabinet dimensions, door clearance, duct size, and outlet location before you commit to installation.
Your kitchen ventilation plan should also account for duct length, elbows, exterior termination, and local building codes.
Review the unit’s electrical specifications, including voltage, circuit requirements, and grounding instructions. Appliance compatibility matters, so confirm that the microwave fits your range, cabinet, and existing electrical system.
Don’t rely on appearance alone. Compare model numbers and dimensions. If any requirement conflicts with your kitchen, contact the manufacturer or a qualified professional before proceeding.
Gather Tools and Installation Materials
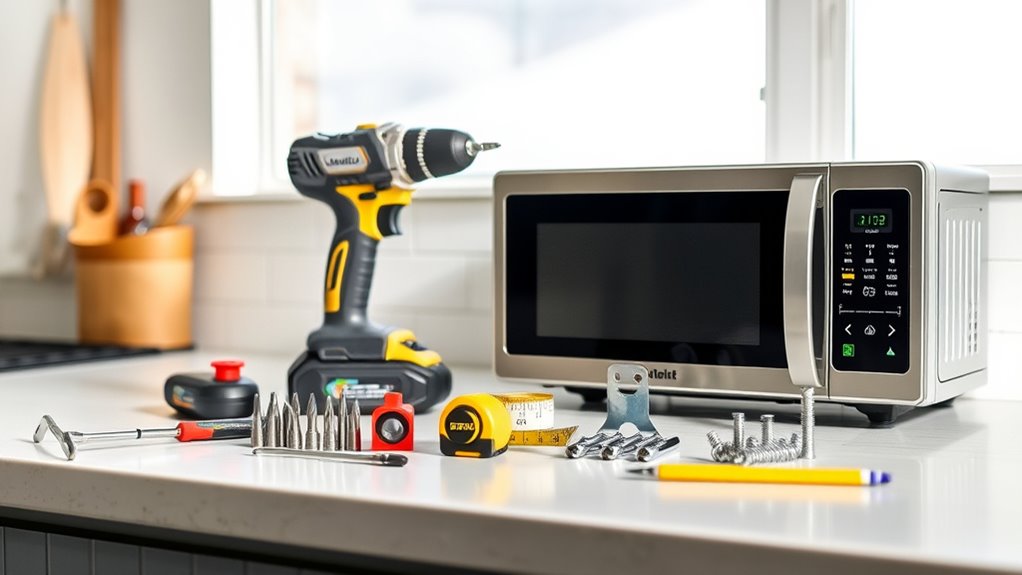
Gather the tools and materials listed in the installation manual, such as a drill, bits, stud finder, tape measure, level, screwdrivers, mounting hardware, ductwork, foil HVAC tape, and a grounded electrical outlet. Confirm every item before you begin, so you won’t stop midway or improvise with unsafe substitutes.
Gather every required tool and material first, confirming compatibility to ensure a safe, uninterrupted microwave installation.
- Protect your hands: Wear work gloves and safety glasses when drilling, handling sheet metal, or lifting the microwave.
- Prepare connections: Keep approved wire connectors, a cable clamp, and electrical tester nearby if the manual requires them. Don’t work on energized wiring.
- Plan clean installation: Have a drop cloth, soft towels, and cleaner ready for microwave cleaning after construction dust settles.
- Support cooking safety: Keep a fire extinguisher accessible, remove flammable clutter, and ask someone to help support the appliance during installation.
Check that your drill bits match the supplied fasteners and that the duct materials fit the approved venting method. Read the manual’s warnings first, and replace damaged parts before proceeding.
Keep children and pets away from tools and packaging.
Measure the Range and Cabinet Space
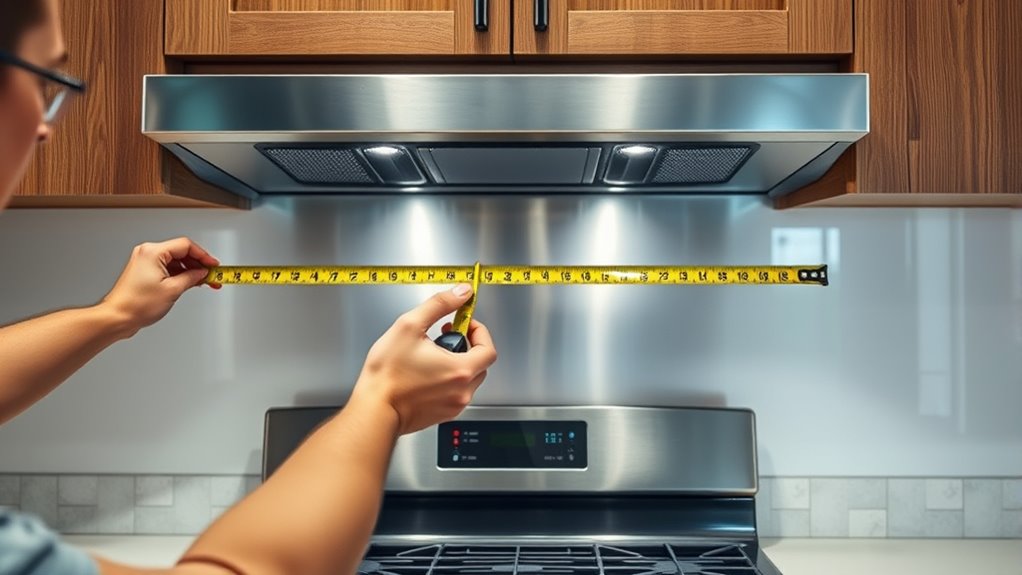
With your tools and safety gear ready, measure the range and cabinet space to confirm the microwave will fit correctly. Turn off the range and clear its surface before measuring.
Record the range’s exact width, depth, and height, including any raised controls or trim. Then measure the wall area above it, noting the distance between the cooktop and the cabinet bottom.
Compare these measurements with the microwave’s installation template and manufacturer specifications.
Check the cabinet width, depth, and height to ensure the unit won’t extend too far forward or interfere with nearby doors. Measure the side gaps and the space above the cabinet for comfortable access and safe operation.
Confirm the wall is wide enough for the mounting plate, and locate studs if the instructions require them. Consider color coordination with your existing appliances and cabinets, but prioritize accurate dimensions and required cabinet clearance.
Mark measurements clearly, and recheck them before ordering or lifting the microwave into position.
Choose Your Venting Method
Choose a venting method that matches your kitchen layout and the microwave’s installation requirements. You’ll typically choose external wall venting, external roof venting, or recirculating filtration.
External venting sends cooking odors, smoke, heat, and moisture outdoors through ductwork. Recirculation filters the air and returns it to your kitchen.
- Wall venting: Choose this route when an exterior wall sits directly behind the microwave. A short, straight duct usually improves ventilation efficiency.
- Roof venting: Select this option when the microwave sits away from an exterior wall or above another room. Plan for longer ductwork and weatherproof flashing.
- Recirculating venting: Use this method when you can’t cut through a wall or roof. Replace charcoal filters regularly to control odors.
- Noise and airflow: Favor smooth, properly sized ducts with few bends. Better routing supports ventilation efficiency and noise reduction, helping your kitchen feel fresher and calmer.
Check the manufacturer’s instructions before choosing adapters, duct sizes, or filters. Then gather the approved vent components for installation.
Find Wall Studs and Check the Power Supply
After selecting the venting method, locate the wall studs and confirm the power supply before mounting the microwave. Use a stud finder to mark each stud across the installation area. Measure from the floor and transfer the microwave’s mounting-template marks to the wall.
Fasten the mounting plate into studs whenever possible. If its holes don’t align, use the manufacturer-approved anchors for the wall type.
Before drilling, inspect for wall insulation and potential electrical wiring with a detection tool or by checking an accessible outlet or adjacent cabinet. Don’t drill directly above or below outlets, switches, or visible cable routes.
Turn off the circuit at the breaker, then verify that the intended outlet has no power with a voltage tester. Confirm the outlet’s location, grounding, and amperage match the microwave’s instructions.
Avoid extension cords and shared circuits unless the manual specifically permits them. If wiring looks damaged, the circuit lacks grounding, or you’re unsure, stop and contact a qualified electrician before continuing.
Keep the mounting area clear and dry.
Set the Blower for Your Venting Setup
Set the blower to match your venting method before mounting the microwave. Confirm whether your setup vents outdoors through the wall or roof, or recirculates air indoors.
Unplug the unit, remove the blower cover, and follow the manufacturer’s diagram to rotate or reposition the motor and fan.
Disconnect power, open the blower cover, and use the manufacturer’s diagram to reposition the motor and fan correctly.
- For wall venting: Aim the blower outlet toward the rear duct opening.
- For roof venting: Turn the outlet upward and verify the transition piece fits.
- For recirculation: Keep the blower facing forward and install the approved charcoal filter.
- For safety: Tighten every screw, keep wires clear, and check that the fan spins freely.
Your careful adjustment prevents weak airflow, trapped grease, and frustrating rework. Don’t force the housing; if it resists, recheck the instructions.
Consider Fan noise before finalizing the direction, since a poorly aligned path can create rattling or turbulence. Plan Blower maintenance now by recording the filter type and cleaning schedule.
Keep the duct path short, sealed, and unobstructed so cooking odors leave efficiently. Finish by replacing the cover securely.
Install the Wall Mounting Bracket
Mark the bracket’s placement using your microwave’s template, and make sure it aligns with the wall studs. Carefully level the mounting bracket so the microwave hangs straight. Then, secure the bracket firmly to the wall using the appropriate hardware.
Mark Bracket Placement
With the cabinet cleared and the microwave’s height confirmed, hold the wall-mounting bracket against the wall so its top edge aligns with the installation template or the manufacturer’s specified height. Check the bracket placement against the range, cabinets, and backsplash.
Consider aesthetic details, such as centered edges and visible gaps, before marking anything.
- Slide the bracket until its mounting holes align with wall studs whenever possible.
- Mark each required hole through the bracket with a pencil or fine-tip marker.
- Trace the bracket’s bottom corners so you can reposition it accurately after drilling.
- Feel the relief of knowing every mark supports a secure installation.
Use a stud finder to identify framing, then note those locations clearly. If a hole misses a stud, mark the appropriate anchor location specified by the manufacturer.
Keep the bracket steady while marking, and don’t drill yet.
Level the Mounting Bracket
Before drilling, press the wall-mounting bracket against the marked area and align its bottom corners with your reference marks. Confirm the mounting height matches the microwave manufacturer’s instructions and leaves enough clearance above the range.
Place a level across the bracket’s top edge, then adjust the bracket until the bubble centers between the lines. Check wall alignment by holding the level vertically along each side; the bracket should sit flat without rocking or twisting.
Recheck the reference marks after leveling, since even a small shift can affect the microwave’s fit and exhaust connection. If the wall has uneven surfaces, identify any gaps or high spots and correct the bracket’s position.
Keep the bracket steady while you verify every measurement, but don’t attach it to the wall yet.
Secure Bracket to Wall
Once the bracket is level and aligned, hold it firmly against the wall and drive the specified screws through its mounting holes into the wall studs or properly installed anchors. Keep steady pressure so the bracket won’t shift while you tighten each fastener.
Confirm your mounting height matches the manufacturer’s template and leaves enough clearance above the range.
- Check every screw: Ensure each fastener seats tightly without stripping.
- Verify wall reinforcement: Use approved anchors or add blocking if studs don’t align.
- Test the bracket: Pull gently at several points; it shouldn’t flex or move.
- Protect your progress: Don’t hang the microwave until every connection feels secure.
A firmly attached bracket supports the appliance’s weight and helps prevent dangerous movement. If the wall feels weak, stop and reinforce it before continuing.
Never substitute undersized screws or unapproved hardware. Reliable support starts here.
Mount and Secure the Microwave
Align the microwave with the wall-mounting bracket before lifting it into place. With help, lift the microwave and seat it securely on the bracket. Then tighten the mounting bolts and screws according to the manufacturer’s instructions.
Align the Mounting Bracket
Hold the mounting bracket against the wall so its top edge matches the installation height specified in the microwave’s instructions. Center it over the range, then check that both sides sit the same distance from the cabinet edges.
Don’t rely on appearance alone; use a level to verify the bracket runs straight across and vertically.
- Mark each mounting hole through the bracket with a pencil.
- Confirm the marks land on studs or approved anchors for your wall type.
- Make an alignment adjustment if the bracket shifts, tilts, or misses a stud.
- Recheck every measurement before drilling; careful preparation protects your wall and prevents stressful corrections.
Keep the bracket firmly supported while you mark it, and compare your layout with the manufacturer’s template.
Accurate alignment now helps the microwave sit securely and keeps the exhaust path properly positioned.
Lift and Position Microwave
With a helper supporting the microwave, lift it onto the mounting bracket and guide the top edge into the cabinet opening. Keep the appliance level as you shift it backward, ensuring its rear tabs or slots engage the bracket supports.
Check the microwave placement from the front and sides. Center it over the range, align its edges with the surrounding cabinets, and confirm that the door opens freely without striking nearby surfaces.
Maintain the manufacturer’s required cabinet clearance above and around the unit, including space for ventilation. Ask your helper to hold the microwave steady while you inspect the power cord’s route through the cabinet hole.
Don’t pinch or sharply bend the cord, and keep the appliance supported until it sits fully against the wall and remains balanced on the bracket.
Secure Bolts and Screws
Once the microwave is level and fully seated on the bracket, thread the mounting bolts through the cabinet’s bottom holes into the threaded openings on top of the appliance. Check bolt placement so each fastener enters straight and doesn’t cross-thread.
Tighten them evenly with a screwdriver or socket, alternating between sides to draw the unit snugly against the cabinet without crushing it.
- Use the manufacturer-supplied bolts. Substitute hardware can damage the microwave or fail under its weight.
- Choose the specified screw types for securing the support bracket and any lower mounting plate.
- Hold the microwave steady while you tighten, preventing sudden shifts that could strain the bracket or vent connection.
- Stop when the fasteners feel firmly seated. Overtightening can strip threads or warp the cabinet.
Confirm the microwave remains level, then inspect every connection before releasing your support.
Connect the Duct and Power Safely
Connect the microwave’s exhaust duct to the wall or roof vent, using the adapter and approved ductwork specified in the installation manual. Keep the run short and straight, and don’t reduce its required diameter.
Secure each joint with metal foil tape or approved clamps; avoid ordinary cloth duct tape. Complete duct sealing around the exterior connection to prevent leaks and moisture intrusion.
Before handling electrical wiring, switch off the circuit breaker and confirm the circuit is dead with a tester. Follow the manufacturer’s wiring diagram, match the wires correctly, and attach the grounding wire to the designated grounding screw.
Use a grounded receptacle or hardwire the unit only as the manual permits. Protect connections inside the approved electrical box, then replace its cover securely.
| Connection | Safe practice |
|---|---|
| Duct joints | Foil tape |
| Vent adapter | Tight fit |
| Power circuit | Breaker off |
| Ground wire | Secure screw |
Don’t energize the microwave until every cover, clamp, and seal sits firmly.
Test the Microwave Exhaust Fan
Restore power at the breaker, then press the fan button and select each available speed. Listen for smooth operation, unusual rattling, or grinding. Hold a tissue near the intake to confirm airflow, and check that air moves toward the duct outlet.
If your model recirculates, verify that air exits through the charcoal-filter vent.
- Check the lights: Turn them on and off to ensure the controls respond correctly.
- Watch the cabinet: Stop immediately if you notice shaking, heat, smoke, or a burning smell.
- Inspect the duct: Confirm strong airflow without leaks around seams or the wall cap.
- Confirm safe shutdown: Turn the fan off and make sure the motor stops promptly.
If the fan sounds strained or airflow feels weak, disconnect power before investigating. Tighten loose fasteners, reseat the filter, and inspect the damper for blockage.
These steps support routine Microwave maintenance and practical Exhaust fan troubleshooting. Record any problem and contact a qualified technician if wiring, the motor, or the controls seem faulty. Never operate a damaged unit.
Frequently Asked Questions
How Often Should I Clean or Replace the Microwave Exhaust Fan Filter?
Clean your microwave exhaust fan filter monthly if you cook often, or at least every three months with occasional use. Wash a reusable grease filter in warm, soapy water, then let it dry completely before reinstalling it.
Replace disposable charcoal filters every six to twelve months, sooner if odors linger or airflow drops. During filter maintenance, inspect for damage and follow your manufacturer’s replacement frequency recommendations for the safest, most effective ventilation and performance.
Can I Install an Over-The-Range Microwave in a Rental Property?
Yes, you can install an over-the-range microwave in a rental property, but you’ll usually need your landlord’s written approval first. Think of it like changing a rental car’s tires: you shouldn’t modify anything without permission.
Confirm the lease, electrical requirements, cabinet support, ventilation path, and building codes. Schedule professional Microwave installation, and clarify who pays, owns, maintains, and removes the appliance.
Include Exhaust fan maintenance responsibilities, especially filter cleaning and replacement, in writing.
What Clearance Should Exist Between the Microwave and Cooking Surface?
Maintain at least 30 inches between the cooking surface and the microwave’s bottom, unless your appliance manual specifies a different minimum. You’ll need enough safety clearance to protect the microwave from heat while allowing comfortable cooking and access to controls.
Check your local building code and the manufacturer’s ventilation requirements before mounting it. If you’re renting, ask your landlord for approval and confirm that the existing electrical outlet and cabinet support can handle the installation properly.
How Loud Are Microwave Exhaust Fans During Operation?
Microwave exhaust fans usually produce 45–60 decibels, roughly as loud as a quiet conversation, though higher settings may sound noticeably stronger. Noise levels depend on the model, duct design, and installation quality.
You’ll hear a gentle hum on low and a stronger whoosh on high. Check the manufacturer’s rating before buying.
Better fan efficiency can reduce operating time, but powerful airflow often creates more sound. Choose a quieter model if noise concerns you.
Can an Over-The-Range Microwave Replace a Dedicated Kitchen Range Hood?
Yes, an over-the-range microwave can replace a dedicated kitchen range hood, but you’ll need to evaluate kitchen ventilation and appliance compatibility first.
Choose a model with adequate airflow, preferably 300–400 CFM or higher, and verify that it vents outdoors rather than merely recirculating air.
Check your cooking habits, cabinet space, electrical requirements, and local codes. If you frequently use high heat, grilling, or gas burners, a dedicated hood may perform better.
Conclusion
With the bracket tight, duct connected, and power safely restored, you’re ready to test your microwave exhaust fan. Turn it on and feel stale cooking air disappear as fresh air replaces it.
Listen for smooth, steady operation, then check for leaks around the duct. When everything works, your microwave exhaust fan will make the range area feel brighter, cleaner, and more comfortable.
You’ve transformed an ordinary kitchen corner into a practical, polished space where warm meals and welcoming memories can rise together.