How to Clean Kitchen Appliances Safely
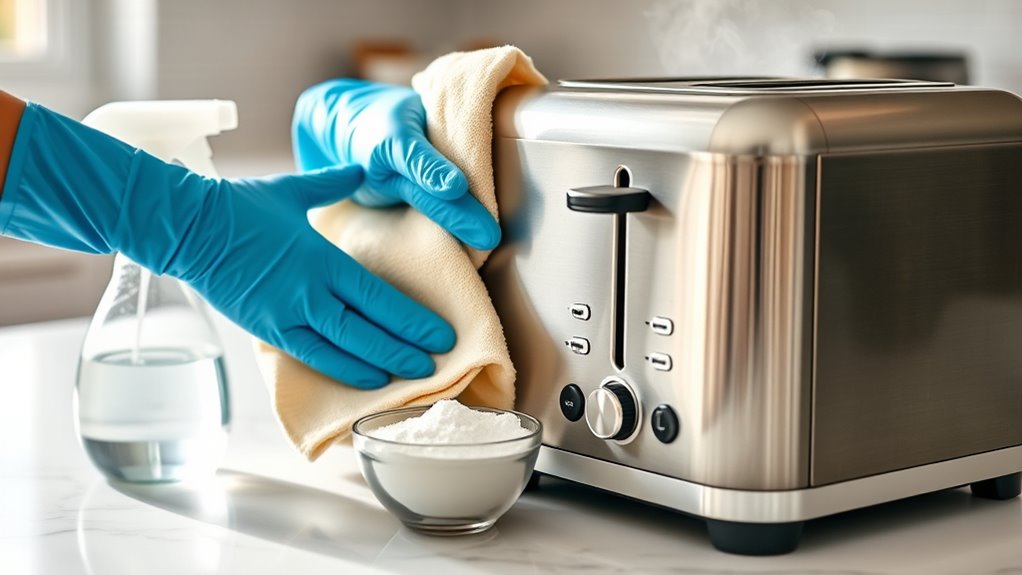
Grease, spills, and stubborn buildup can make kitchen appliances frustrating to clean, and you’re not alone in struggling to keep them spotless. The right products and techniques can make kitchen appliance cleaning safer, easier, and more effective.
To clean kitchen appliances safely, unplug each one, let hot surfaces cool, and check the manual before using water or cleaners. Choose gentle, surface-appropriate products and avoid abrasive pads, harsh chemicals, and wetting controls, vents, or heating elements.
Remove and wash detachable parts, loosen grease with warm soapy water, and descale only as directed. Wipe interiors carefully, rinse when needed, and dry everything completely before reassembly.
Keep going for appliance-specific techniques and maintenance tips.
Key Takeaways
- Unplug appliances, let hot surfaces cool, and read the manufacturer’s manual before cleaning or removing parts.
- Use mild, appliance-safe cleaners and soft cloths. Avoid abrasive pads, harsh chemicals, and metal tools.
- Keep water away from electrical components, heating elements, vents, motors, controls, and other areas marked non-washable.
- Wash removable parts separately, rinse thoroughly, and let every component air-dry completely before reassembling.
- Never mix cleaning products, especially vinegar, bleach, or ammonia. Ventilate the area when using sprays or strong cleaners.
Prepare to Clean Kitchen Appliances Safely
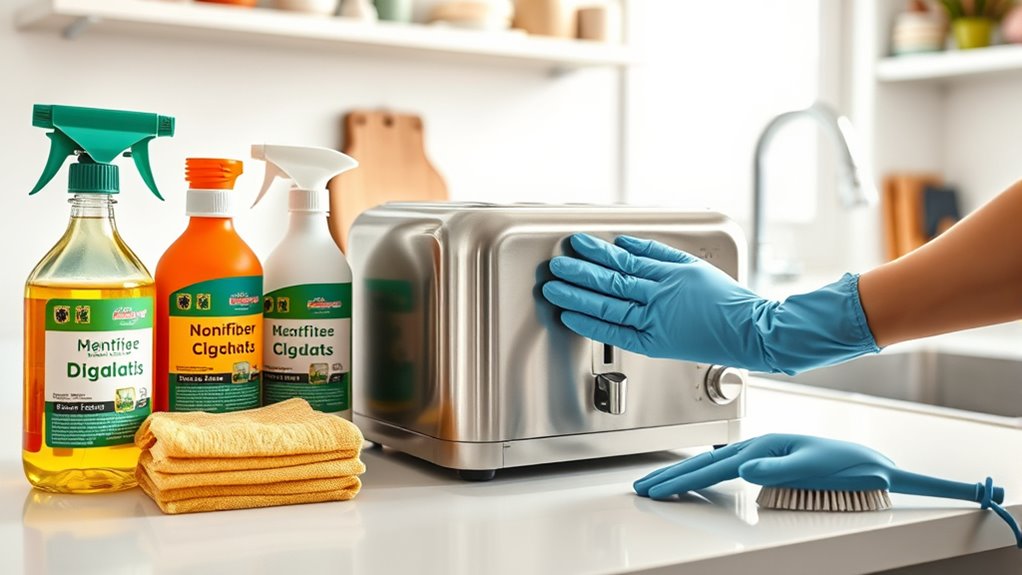
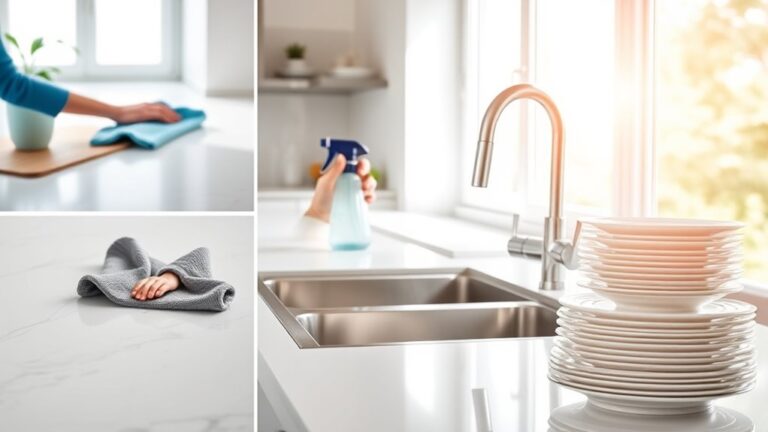
Before cleaning any kitchen appliance, unplug it and let hot surfaces cool completely. Gather microfiber cloths, soft brushes, mild dish soap, warm water, and manufacturer-approved cleaners.
Unplug appliances, let surfaces cool, and gather gentle, manufacturer-approved supplies before cleaning.
Keep abrasive pads, sharp tools, and harsh chemicals away from finishes, seals, screens, and heating elements. Wear gloves if residue irritates your skin, and open a window when odors or sprays require ventilation.
Read the appliance’s care label and identify removable parts, delicate surfaces, and areas that must stay dry. Don’t mix cleaning products, especially bleach and ammonia.
Place a towel beneath small appliances to catch drips, and keep cords, plugs, and outlets clear of moisture. Work in good lighting so you can spot grease, crumbs, and buildup.
Build appliance safety into your cleaning schedules. Wipe spills promptly, clean high-use equipment weekly, and inspect filters, trays, gaskets, and vents regularly.
A consistent routine prevents stubborn grime, reduces odors, and helps each appliance operate efficiently. Be gentle, organized, and thorough.
Unplug Appliances and Check the Manual
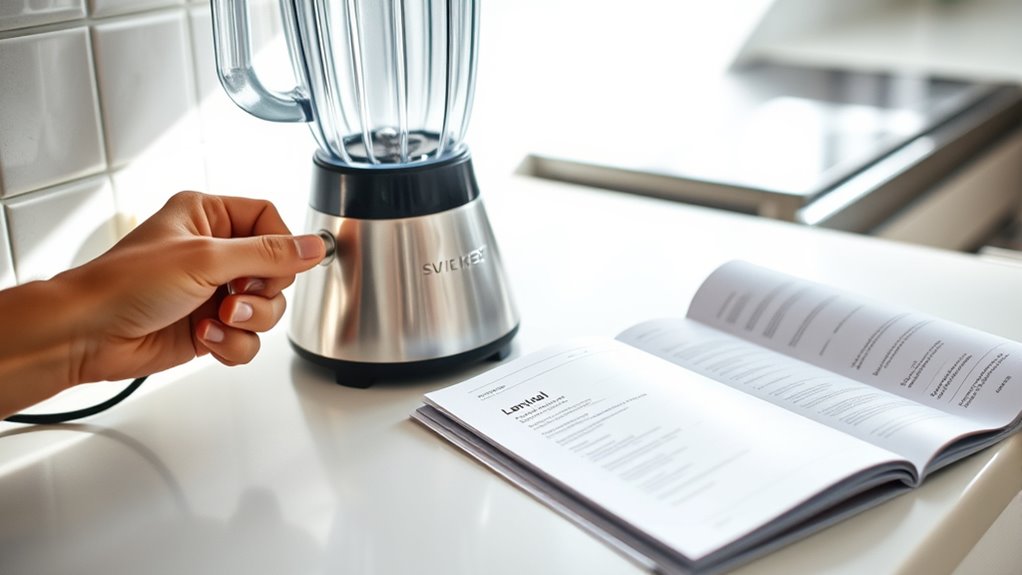
Start by unplugging the appliance and confirming that every control is off. Don’t rely on a timer, standby mode, or a wall switch; disconnect the power cord from the outlet.
If you can’t reach the plug safely, turn off the correct circuit breaker before proceeding. Keep your hands dry, and never clean an energized appliance, especially near openings, switches, or exposed connections.
Electrical safety starts with removing every possible power source.
Next, read the appliance’s manual before you handle water, cleaners, removable parts, or internal components. Manual guidance can identify approved cleaning products, parts that shouldn’t get wet, and components you can safely remove.
It may also explain special precautions for heating elements, motors, filters, and electronic controls. If you’ve misplaced the manual, find the manufacturer’s online version using the model number.
Follow its warnings instead of guessing. When instructions conflict with general advice, prioritize the manufacturer’s directions, and contact customer support if anything remains unclear before cleaning.
Clean Stovetops Without Scratching
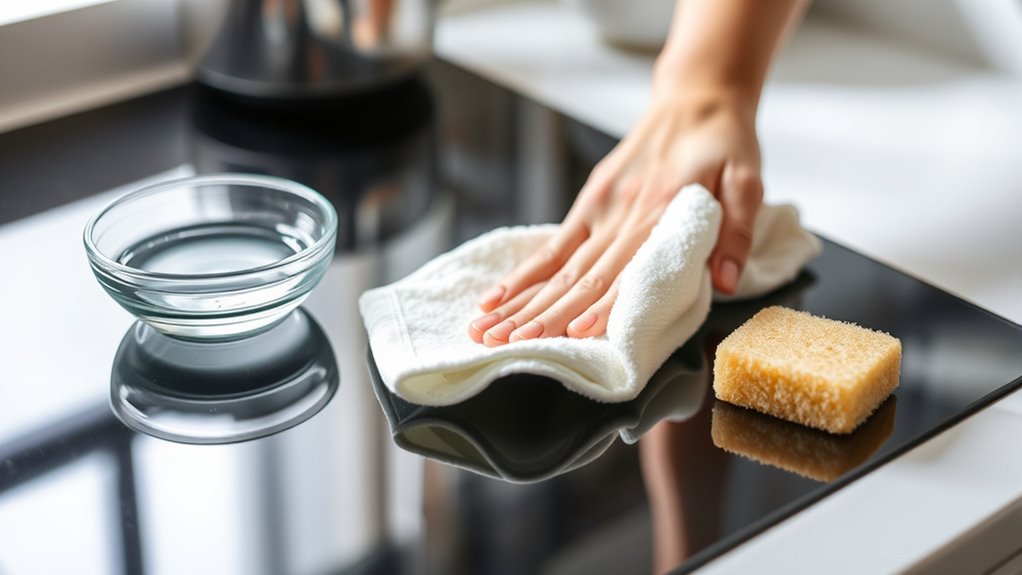
To clean your stovetop without leaving scratches, choose a gentle cleaner designed for its surface. Use a soft cloth or a nonabrasive sponge, and avoid scraping stuck-on food with sharp tools. Instead, soak the area with warm, soapy water to loosen the residue, then wipe it away.
Choose Gentle Cleaners
Choose a gentle, nonabrasive cleaner suited to your stovetop’s surface, such as diluted dish soap or a manufacturer-approved product. Check your appliance manual before applying anything, because glass, ceramic, stainless steel, and enamel may require different formulas.
Avoid abrasive powders, bleach, ammonia, and harsh degreasers that can dull finishes, discolor surfaces, or damage protective coatings. For eco-friendly solutions, mix a small amount of mild dish soap with warm water, or use diluted white vinegar only when your manufacturer permits it.
DIY cleaning remedies can work, but test any homemade mixture on an inconspicuous area first. Apply cleaner sparingly, and don’t let liquid seep around controls or burners.
Wipe away residue promptly, then dry the surface completely to prevent streaks, spotting, and lingering moisture.
Use Soft Tools
When cleaning a stovetop, use a soft microfiber cloth, nonabrasive sponge, or soft-bristled brush to lift grime without scratching the surface. Soft cloths work well for wiping away cleaner, fingerprints, and everyday residue from glass, ceramic, stainless steel, or enamel surfaces.
Choose gentle brushes for seams, control panels, and edges where a cloth may not reach. Apply light pressure and move in smooth, controlled strokes rather than scrubbing aggressively.
Rinse your tools frequently so trapped particles don’t drag across the stovetop. Keep separate cloths for cleaning and drying, and wash reusable tools after each use.
Before cleaning, turn off the appliance and let it cool completely. Avoid steel wool, scouring pads, abrasive scrubbers, and stiff bristles, which can dull finishes or leave permanent marks on your stovetop.
Remove Stuck-On Food
For stuck-on food, soften the residue before you try to remove it. Turn off the stovetop and let it cool completely. Then place a warm, damp microfiber cloth over the spot for several minutes. Add a drop of dish soap to loosen stubborn food residues without harsh scrubbing.
Use gentle Cleaning techniques: lift softened debris with a plastic scraper or an old gift card, holding it nearly flat against the surface. Don’t use metal blades, steel wool, or abrasive powders, which can scratch glass, enamel, or stainless steel.
Wipe away loosened grime with a clean, damp cloth, rinsing it often. For persistent spots, apply a paste of baking soda and water, let it sit briefly, and wipe gently. Dry the stovetop thoroughly to prevent streaks and water marks.
Degrease Ovens and Range Hoods
Grease buildup can make ovens and range hoods smoky, sticky, and harder to use, so clean them regularly with the right method. Before you begin, switch off the appliances, let them cool completely, and open a window.
Remove oven racks, then wipe loose residue with a damp cloth. Apply a paste of baking soda and water to greasy oven walls, avoiding heating elements and vents.
Let it sit for several hours or overnight, then wipe it away with a clean, damp cloth. For stubborn spots, use a manufacturer-approved degreaser.
Take out range hood filters and soak them in hot water with dish soap for 15 to 30 minutes. Scrub gently with a soft brush, rinse thoroughly, and let them dry fully before replacing them.
Wipe the hood’s exterior and underside with diluted dish soap, keeping moisture away from switches and the motor. Regular oven maintenance and clean range hood filters help control odors, smoke, and fire risks.
Remove Crumbs From Toasters Safely
Unplug the toaster and let it cool completely before removing crumbs. Slide out the crumb tray over a trash can, then empty and wash it with warm, soapy water. Dry it fully before replacing it.
| Task | Tool | Safety tip |
|---|---|---|
| Empty tray | Trash can | Keep toaster unplugged |
| Brush slots | Soft brush | Don’t insert metal |
| Wipe exterior | Damp cloth | Avoid openings |
For thorough crumb removal, turn the toaster upside down over the sink or trash can and gently shake it. Don’t strike or aggressively shake the appliance, because you could damage its elements.
Use a dry, soft pastry brush to loosen crumbs inside each slot. Never pour water into the toaster, use a knife, or insert fingers near the heating elements.
Wipe the exterior with a slightly damp cloth, then dry it. Check the cord for damage before plugging the toaster back in.
Regular toaster cleaning reduces buildup and helps prevent smoke or burning smells. Clean the tray weekly, or more often if you use the toaster daily.
Keep crumbs away from nearby burners and other hot surfaces.
Descale and Rinse Coffee Makers
Before descaling your coffee maker, turn it off, unplug it, and let it cool. Remove the filter, grounds, and any detachable parts. Empty the water reservoir and rinse it.
Fill the reservoir with equal parts white vinegar and water, or use a manufacturer-approved descaling solution. Place the carafe beneath the brew basket, then run half the mixture through a normal cycle.
Pause for 30 minutes so the solution can dissolve mineral buildup. Finish the cycle, discard the liquid, and wash the carafe.
Rinse the reservoir thoroughly, fill it with fresh water, and run two or three complete cycles. Keep rinsing until you detect no vinegar smell or taste.
Wash removable parts with warm, soapy water, and wipe the warming plate and exterior with a damp cloth. Don’t immerse the machine or use abrasive cleaners.
Regular descaling supports clean Coffee brewing, while keeping your bean grinder separate prevents grounds from entering the brewer. Check your manual for the recommended schedule.
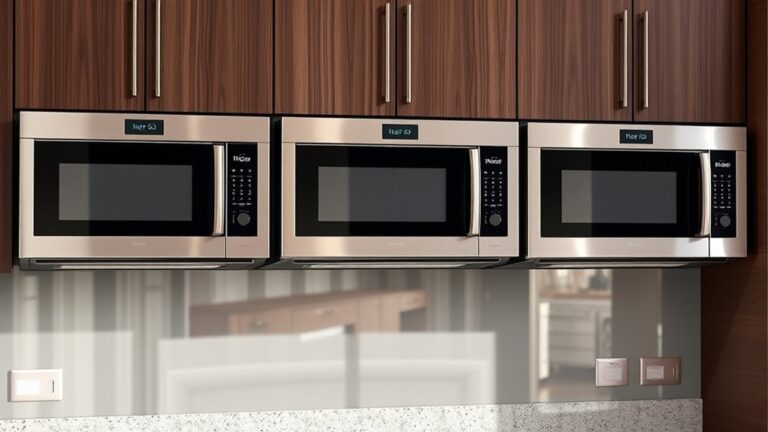
Steam-Clean Microwaves Without Damage
Once your coffee maker is clean, you can tackle microwave splatters with steam. Pour one cup of water into a microwave-safe bowl.
Add a tablespoon of lemon juice or vinegar, but never use a sealed container. Microwave it for three to five minutes until the water boils and fills the cavity with microwave steam.
Let it stand for five minutes, allowing grime to loosen.
| Step | What you’ll do | Safety check |
|---|---|---|
| Prepare | Use a vented, microwave-safe bowl | Avoid metal |
| Heat | Run water briefly | Stop if sparking occurs |
| Wipe | Remove bowl with mitts | Watch for hot steam |
Open the door away from your face, then carefully remove the bowl. Wipe the ceiling, walls, turntable, and door with a soft cloth.
Don’t scrub aggressively or spray cleaner into vents, controls, or openings. Dry every surface before replacing the turntable.
For appliance safety, never operate the microwave empty, and don’t use abrasive pads that can damage its interior coating. Unplug it first if cleaning near electrical controls.
Clean and Sanitize Your Fridge Safely
Keep food cold in a cooler with ice packs while you clean and sanitize your fridge. Unplug the appliance, remove shelves and drawers, and let glass parts reach room temperature before washing them.
Wipe interior surfaces with warm water and mild dish soap, then rinse with a clean, damp cloth. Sanitize according to your appliance manual and let everything air-dry completely.
- Wash your hands before handling food or clean parts.
- Check dates and discard spoiled or questionable items.
- Use separate cloths for the interior and exterior.
- Return food promptly, keeping raw meat sealed below ready-to-eat foods.
Practice good Refrigerator organization by grouping similar items and leaving space around packages. This arrangement supports airflow and Temperature regulation, helping your fridge maintain a safe temperature of 40°F (4°C) or below.
Clean door seals with soapy water and dry them thoroughly. Plug the fridge back in, verify its temperature, and replace shelves and food only after the interior feels cold.
Never use abrasive pads or harsh chemicals inside.
Treat Appliance Grease, Scale, and Odors
With your fridge clean and safely restocked, tackle grease, mineral scale, and odors on other kitchen appliances using methods suited to each surface. Unplug each appliance before cleaning, and check its manual for approved products.
For stovetops, range hoods, and toaster ovens, loosen grease with warm water and a few drops of dish soap. Wipe with a soft cloth, then use a nonabrasive paste of baking soda and water for stubborn spots. Don’t use abrasive pads on stainless steel or coated surfaces.
To remove mineral scale from kettles, coffee makers, or humidifiers, follow the manufacturer’s descaling instructions. If permitted, run a diluted white-vinegar solution, rinse thoroughly, and flush away any lingering taste. Never mix vinegar with bleach or other cleaners.
For lingering smells, empty removable trays and wash them separately. Place baking soda nearby to absorb odors, or try natural deodorizing methods such as lemon peels. These Eco friendly solutions reduce harsh chemical exposure while keeping appliances fresh and safe.
Dry Appliances and Prevent Future Buildup
After cleaning, dry each appliance thoroughly with a clean towel, and let any removable parts air-dry completely. Once everything is fully dry, reassemble the appliance to help prevent moisture-related buildup. Wipe up spills promptly, and stick to a regular cleaning routine to keep residue under control.
Dry Appliances Thoroughly
Once you’ve cleaned an appliance, dry every surface thoroughly before reconnecting or storing it. Water left behind can damage finishes, encourage corrosion, or reach electrical components.
Use a clean, lint-free towel, then let removable parts air-dry completely on a rack. Pay attention to seams, hinges, vents, handles, and areas beneath seals.
For a reliable final check, inspect these four areas:
- Interior walls and corners
- Trays, baskets, and racks
- Buttons, dials, and control panels
- Cords, plugs, and exterior connections
Don’t plug in an appliance while moisture remains near its controls or outlet. If you’re polishing hardware, wait until it’s fully dry, and avoid trapping dampness under cloths.
When polishing surfaces, use a dry microfiber cloth and gentle pressure. Reassemble only after every component feels dry to the touch.
Never use direct heat, which can warp plastic or damage finishes.
Prevent Future Buildup
Dry appliances help prevent immediate damage, but regular upkeep keeps grime from returning. After cleaning, wipe every surface with a dry, lint-free cloth, and leave doors, lids, and drawers open until moisture disappears. Don’t stack damp parts or reconnect an appliance while water remains near electrical components.
Prevent buildup by cleaning spills immediately, especially around blender bases, toaster slots, refrigerator seals, and coffee makers. Follow the manufacturer’s schedule for Cleaning appliance filters, vents, drip trays, and removable screens. Replace filters when washing no longer restores airflow or cleanliness.
You’ll also reduce mess by Organizing kitchen tools near their points of use, keeping countertops clear, and storing dry accessories in ventilated containers. Once a week, inspect hidden corners and wipe away residue before it hardens.
A brief routine protects your appliances, improves performance, and makes deeper cleaning easier.
Frequently Asked Questions
How Often Should Kitchen Appliances Be Professionally Serviced?
You should schedule professional servicing for most kitchen appliances once a year, even if they seem to work normally. Arrange earlier professional maintenance for heavily used equipment, older models, or appliances showing unusual noises, leaks, odors, or performance changes.
Check each manufacturer’s recommendations, since refrigerators, ovens, dishwashers, and gas appliances may require different intervals. Regular servicing helps prevent breakdowns, improves efficiency, protects your household, and can extend appliance lifespan while preserving warranties and safety.
Which Cleaning Products Are Unsafe Around Children and Pets?
Bleach fumes make a “fresh” kitchen feel like a chemical cloud, so keep bleach, ammonia, oven cleaners, drain openers, and aerosol sprays away from children and pets. Never mix products, especially bleach with ammonia or acids.
Store everything locked and out of reach, and ventilate well. Choose labeled Child safe cleaners and Pet friendly disinfectants, but still follow directions.
You shouldn’t trust “natural” labels blindly; some essential oils can harm pets.
Can I Clean Appliance Exteriors With Stainless Steel Polish?
Yes, you can use stainless steel polish on many appliance exteriors, but check the manufacturer’s instructions first. For effective Stainless steel cleaning, apply a small amount to a microfiber cloth—not directly onto the appliance—and wipe with the grain.
Avoid polish on control panels, plastic trim, glass, or coated finishes unless approved. For safe Appliance exterior care, keep products away from vents, handles, seams, children, and pets, and remove residue completely with a clean, damp cloth.
What Should I Do if Water Enters an Appliance’s Electrical Components?
If water enters an appliance’s electrical components, unplug it immediately—don’t play modern-day Benjamin Franklin. Keep your hands dry, and don’t touch the appliance if you’re standing in water.
For Electrical safety, never switch it on, open its casing, or use a hair dryer; let a qualified technician inspect and repair it.
Follow Water damage prevention by moving the appliance only when safe, drying surrounding surfaces, and replacing damaged cords or plugs before use.
When Should I Replace Rather Than Clean a Damaged Appliance?
Replace an appliance when damage affects wiring, insulation, motors, or safety controls, especially after water reaches electrical components. Don’t clean or reuse it if you smell burning, see melted parts, experience repeated tripping, or can’t confirm safe operation.
Compare repair costs with a new model’s price; replacement often makes sense when repairs exceed half the purchase cost. Also consider appliance lifespan: an older appliance near its expected service life usually isn’t worth restoring.
Conclusion
With a little care, you can keep your kitchen appliances clean, safe, and sparkling. Unplug them, read the instructions, and choose gentle cleaners before tackling grease, crumbs, scale, or smells.
Wipe, rinse, and dry every surface thoroughly to prevent damage and lingering moisture. By building these simple habits into your routine, you’ll create a fresher, safer kitchen where clean kitchen appliances make daily cooking easier, brighter, and more enjoyable for everyone.