How to Sharpen Kitchen Knives in 10 Easy Steps
If you’ve ever struggled with dull kitchen knives that make cooking frustrating and unsafe, you’re not alone. Many people find it challenging to keep their blades sharp and ready for precise cutting. Luckily, sharpening your knives doesn’t have to be complicated or time-consuming.
Start by cleaning and inspecting your knives for damage. Set up a safe, well-lit workspace with a non-slip surface. Choose the right sharpening tool, whether it’s a whetstone, manual, or electric, based on your skill and knife type.
Maintain a consistent angle between 15° and 20° throughout sharpening, applying light pressure. Hone regularly to keep edges aligned, and store knives safely.
Test sharpness with simple household items. Following these steps guarantees sharper, safer knives, and you can investigate more tips to perfect your technique.
How to Sharpen Kitchen Knives Key Takeaways
- Clean and inspect knives for damage before sharpening to ensure safety and effective sharpening.
- Choose the right sharpening tool and angle based on your knife type and experience level.
- Maintain a consistent 15-20° angle and use appropriate grit whetstones or sharpeners for best results.
- Use light, steady pressure and repeat strokes evenly to restore a sharp edge without damaging the blade.
- Hone regularly and store knives properly to maintain sharpness and prevent dulling between sharpenings.
Clean and Inspect Your Kitchen Knives
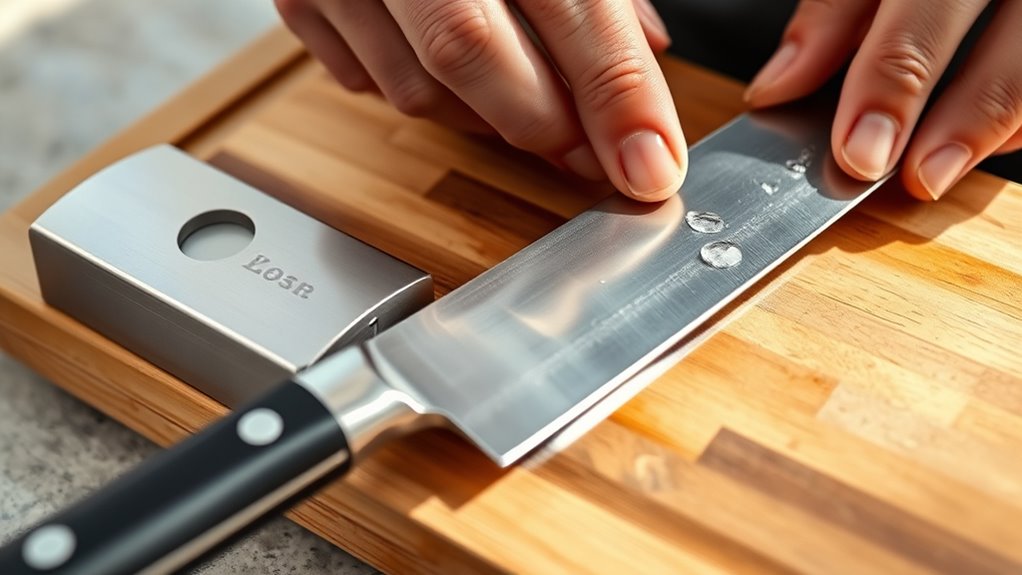
Why should you clean and inspect your kitchen knives before sharpening? Proper knife maintenance starts with this vital step. Cleaning removes food residue, oils, and dirt that could interfere with the sharpening process or damage your sharpening tools. If you skip this, you risk dulling your sharpener or introducing contaminants that compromise your knife’s edge.
Next, take a close look at your knives. Inspect the blade for any chips, rust spots, or cracks. Identifying these issues early lets you address them safely or decide if professional repair is needed. This inspection is also a key safety precaution. Handling damaged knives without care can cause accidents during sharpening.
Prepare a Safe Workspace for Sharpening
Before you begin sharpening, make sure you have a clean, well-lit area free of distractions and hazards. A safe workspace is vital for kitchen safety and effective tool maintenance.
Clear your countertop or workbench, remove clutter, and ensure good lighting so you can see the knife edge clearly. Keep a damp cloth nearby to wipe the blade if needed, preventing slips.
Set up your sharpening station with space to move safely. Avoid working near children or pets. Organize your tools so everything’s within reach but not crowded.
| Task | Importance | Tip |
|---|---|---|
| Clear workspace | Prevent accidents | Remove unnecessary items |
| Good lighting | Guarantee accuracy | Use natural or bright LED light |
| Secure tools | Avoid slips | Place sharpening tools on a non-slip mat |
Following these steps boosts kitchen safety and keeps your knives in top condition during sharpening.
Choose the Right Sharpening Tool
Although many sharpening tools are available, choosing the right one depends on your knife type, skill level, and how often you plan to sharpen. Picking the right tool guarantees effective knife maintenance and prolongs the life of your blades.
Here are three common sharpening options to contemplate:
1. Whetstones
Great for precision and control, ideal if you have some experience. They require practice but deliver excellent results.
2. Pull-through sharpeners
User-friendly and fast, perfect for beginners or quick touch-ups. Just be cautious as repeated use can wear down the blade faster.
3. Electric sharpeners
Efficient and consistent, suited for frequent sharpening but usually more expensive.
Also, consider storage solutions for your sharpening tools to keep them in good condition and ready to use. Proper storage prevents damage and maintains their effectiveness, complementing your overall knife maintenance routine.
Choose a tool that fits your needs and skill for the best sharpening experience.
Understand Knife Edge Angles
You’ll want to get familiar with common knife edge angles because they really affect how your knife performs. A sharper angle makes cutting easier, but it can also be less durable. On the other hand, a wider angle holds up better over time, though it might take a bit more effort to cut with. So, choosing the right angle really depends on how you use your knife and what feels comfortable in your hand.
Common Edge Angle Types
Understanding common edge angle types is essential for sharpening your kitchen knives effectively. The angle you choose influences how sharp and durable your blade will be, so it’s important to know which type suits your needs best.
Here are three popular edge angle types you’ll encounter:
1. 15 Degrees
Common for Japanese knives, this angle creates a very sharp edge but requires careful knife maintenance and proper storage solutions to avoid damage.
2. 20 Degrees
Ideal for most Western-style knives, balancing sharpness and durability for everyday use.
3. **25 Degrees
Offers a tougher edge, perfect for heavy-duty tasks but might not be as razor-sharp.
Choosing the right angle helps you maintain your knives’ performance and prolong their lifespan.
Impact on Cutting Performance
How does the angle of your knife’s edge affect its cutting performance? A sharper, narrower angle lets you slice through food more easily, improving precision and reducing effort. However, a very acute edge can be more fragile, increasing the risk of chipping or dulling quickly.
On the other hand, a wider angle creates a tougher edge that lasts longer but may require more force to cut effectively. Understanding this balance helps you maintain your knives for maximum performance.
Choosing The Right Angle
Finding the right balance between sharpness and durability means paying close attention to the angle of your knife’s edge. Different blade materials require specific angles for best performance. Softer steel blades need a wider angle to prevent dulling, while harder blades can handle a sharper, narrower edge.
How you store your knives also affects edge longevity. Improper knife storage can cause chips, especially on sharper angles.
To choose the right angle:
- Identify your blade material. Harder steels allow 15° to 20°, softer steels 20° to 25°.
- Consider your cutting tasks. Precision needs a sharper angle, heavy-duty work a wider angle.
- Maintain consistent angles during sharpening to preserve edge quality and avoid damage.
Pick the Best Sharpening Method for Your Knives
Since knives vary in design and use, choosing the right sharpening method can make a big difference in maintaining their edge. Understanding your knife’s material and how you use it helps you pick a method that fits your needs and preserves the blade’s longevity.
Knife maintenance isn’t just about keeping a sharp edge but respecting the sharpening history that influences how your blade performs over time.
Here’s a quick guide to help you decide:
| Sharpening Method | Best For |
|---|---|
| Whetstone | Traditionalists, fine edges |
| Electric Sharpener | Convenience, quick touch-ups |
| Honing Rod | Regular upkeep, minor touch-ups |
| Professional Service | Specialty knives, complex blades |
Each method has pros and cons, so consider your knife type and how often you cook. Picking the right approach guarantees your knives stay effective and safe for daily use.
Sharpen Your Knives With a Whetstone
When you’re sharpening your knives with a whetstone, the first step is to pick the right grit for the job. If your blade is really dull, go for a coarse grit. But if you’re just finishing up, a fine grit works best.
Next, you’ll want to keep a consistent angle—usually around 15 to 20 degrees. This helps you get that sharp edge you’re after.
Once you get the hang of these basics, you’ll find sharpening your knives becomes much easier and more effective every time.
Choosing The Right Grit
Although selecting the right grit might seem confusing at first, it plays a crucial role in sharpening your kitchen knives effectively. Choosing the proper grit ensures your blade gets the smooth, sharp edge it needs without damaging the metal.
When picking a whetstone, consider these three grit categories:
- Coarse (200-600 grit): Ideal for fixing nicks or reshaping blades.
- Medium (800-2000 grit): Perfect for regular sharpening and maintaining your knife’s edge.
- Fine (3000-8000 grit): Best for polishing and refining the blade to a razor-sharp finish.
Keep your sharpening accessories well-organized and store your knives properly to protect the edges after sharpening. Good knife storage prevents dulling and extends the time between sharpening sessions.
Proper Angle Techniques
Mastering the proper angle is key to sharpening your knives effectively with a whetstone. Aim to hold the knife at a consistent 15 to 20-degree angle to the stone. This angle guarantees you maintain the edge’s integrity, improving knife maintenance and prolonging blade life.
To find the right angle, imagine slicing a thin slice off the stone’s surface with the blade. Keep this angle steady throughout each stroke to achieve an even, sharp edge.
How to Use Manual and Electric Kitchen Knife Sharpeners
If you want to keep your kitchen knives sharp with minimal effort, using manual or electric sharpeners can be a great choice. These tools simplify the sharpening process and help maintain your blades between hand sharpening sessions. Here’s how to use them effectively:
- Manual Sharpeners: Hold the sharpener firmly on a stable surface. Pull the knife blade through the slots, applying light pressure. Repeat a few times to restore the edge, then wipe the blade clean before storing it properly in your knife storage.
- Electric Sharpeners: Turn the device on and slowly insert the knife into the sharpening slot at the recommended angle. Let the sharpener do the work. Avoid forcing the blade. Run your knife through each stage as directed.
- Safety and Maintenance: Always follow the manufacturer’s instructions. Clean your sharpeners regularly to maintain consistent results and prevent damage to your knives.
Using these sharpeners can keep your knives ready for kitchen tasks without frequent hand sharpening.
Hone Your Kitchen Knives Between Sharpenings
Using manual or electric sharpeners keeps your knives in good shape, but regular honing helps maintain the blade’s edge between sharpening sessions. Honing realigns the microscopic teeth on your knife’s edge, preventing dullness before it sets in.
You don’t need to sharpen every time; honing with a honing steel or ceramic rod after every few uses will extend the life of your blades and reduce the frequency of full sharpening.
Incorporate honing into your knife maintenance routine to keep your knives performing at their best. Alongside honing, consider proper storage solutions like magnetic strips or knife blocks to guard edges from damage.
Avoid tossing knives loosely in drawers, as this can dull blades quickly. By honing regularly and storing knives carefully, you’ll ensure they stay sharp longer, making your kitchen tasks safer and more efficient.
Test Your Knife’s Sharpness Safely
You’ll want to test your knife’s sharpness without risking injury. One easy way is to try slicing through a piece of paper. If the blade cuts cleanly, that’s a good sign.
Another method is to gently run the blade along your thumbnail. If it feels smooth and catches just right, your knife is sharp. These simple tests make it easy to tell when your knife is ready to use.
Safe Sharpness Testing Methods
Although sharpening your kitchen knives is essential, testing their sharpness requires caution to prevent accidents. Historical techniques offer safe ways to check your blade without risking injury. Here are three effective methods that prioritize kitchen safety:
- Paper Test: Hold a piece of paper and try slicing through it with the knife. A sharp knife will cut cleanly without tearing.
- Tomato Skin Test: Gently try peeling the skin of a ripe tomato. A sharp blade will glide through effortlessly.
- Fingernail Test: Lightly drag the knife edge across your fingernail at a shallow angle. A sharp knife will catch slightly without slipping.
Use these methods to safely assess your knife’s sharpness without exposing your fingers to unnecessary risk.
Signs of a Sharp Knife
When you want to know if your knife is truly sharp, pay close attention to how it interacts with everyday items in your kitchen. A sharp knife will slice through tomatoes or paper effortlessly, showing good knife maintenance on your part.
You’ll notice it glides smoothly without applying extra pressure, which reduces the risk of slips or accidents. Another sign is its ability to cleanly cut through thin vegetables or herbs without crushing them. This also helps ensure cutting safety.
If your knife struggles or tears food, it’s time to sharpen it. Regularly testing your knife’s sharpness safely helps maintain peak performance and keeps your kitchen tasks efficient and secure. Remember, a sharp knife is safer because it requires less force, preventing mishaps.
Sharpening Mistakes to Watch Out For
Even the most experienced cooks can slip up while sharpening their knives, which can damage the blade or reduce its effectiveness. To keep your knives in top shape and guarantee kitchen safety, avoid these common sharpening mistakes:
- Using the wrong sharpening materials: Don’t substitute cheap or inappropriate tools. Always use quality stones or sharpeners designed for your knife type to prevent uneven edges or blade damage.
- Applying too much pressure: Pressing too hard can wear down the blade quickly and cause accidents. Let the sharpening tool do the work with gentle, consistent strokes.
- Ignoring blade angle: Sharpening at the wrong angle dulls the edge and can ruin your knife. Maintain the recommended angle (usually 15-20 degrees) to achieve a sharp, durable edge.
Frequently Asked Questions
How Often Should I Sharpen My Kitchen Knives?
You should sharpen your kitchen knives every few months, depending on how often you use them. If you notice the blade struggling to cut or the knife slipping from the handle, it’s time to sharpen.
Maintaining the correct blade angle while sharpening guarantees a sharp edge and safer cutting. Regular sharpening keeps your knives efficient and prevents damage to both the blade and handle, making your cooking easier and safer.
Can I Sharpen Serrated Knives at Home?
Yes, you can sharpen serrated knives at home using the right home sharpening tools. For serrated blade maintenance, use a specially designed sharpening rod or ceramic hone that fits each serration.
Gently run the tool along each scallop’s edge, maintaining the original angle. Take your time, and avoid sharpening the flat side. Regular maintenance with these tools keeps your serrated knives sharp and effective without needing professional help.
What Are the Best Materials for Kitchen Knife Blades?
About 70% of top chefs prefer stainless steel for its excellent blade durability and corrosion resistance. You’ll find that the best materials for kitchen knife blades balance metal composition carefully. High-carbon stainless steel combines sharpness with rust resistance, while Damascus steel offers unique patterns and strength.
If you want long-lasting sharpness and durability, focus on knives with well-crafted metal alloys designed specifically to hold their edge during heavy kitchen use.
How Do I Store Knives to Maintain Sharpness?
You should focus on knife storage methods that prevent dulling and damage. Use a magnetic strip, knife block, or blade guards to keep blades separated and avoid contact with other utensils.
Avoid tossing knives loosely in drawers, as this wears down edges quickly. Proper knife storage plays a vital role in sharpness preservation, so keeping your knives secure and protected will help maintain their cutting performance longer.
Are Professional Sharpening Services Worth the Cost?
Imagine the satisfying glide of a razor-sharp knife through your favorite ingredients. Yes, professional sharpening services are often worth the cost. You get expert precision that restores your blade’s edge better than most home methods.
When you weigh the cost comparison, consider how much longer your knives last and the improved safety and efficiency. Investing in professional sharpening can save you money and frustration in the long run, making every cut effortless.
Conclusion
Now that you know how to sharpen your kitchen knives, stay sharp by sticking to simple steps. Clean carefully, choose correctly, and consistently care for your cutting tools.
Avoid annoying accidents by paying close attention and accuracy while angling and sharpening. With practice, patience, and proper precautions, you’ll perfect your skills and prepare precise, pristine blades every time.
Keep your kitchen knives keen, and cooking will feel crisp, clean, and confidently controlled. Sharpening your kitchen knives regularly makes all the difference in your kitchen experience!