10 Easy Steps to Clean and Sanitize a Kitchen
Keeping your kitchen spotless can feel like an endless chore, right? You’re not alone—many people struggle with finding the time and the right approach to clean and sanitize this busy space effectively. If you’ve ever wished for a simple, step-by-step guide to get your kitchen sparkling without the hassle, you’re in the right place.
Start by clearing clutter and gathering your cleaning supplies. Scrape and wash dishes, then sanitize them along with countertops using suitable cleaners. Deep clean appliances and sinks, ensuring you unplug devices before wiping.
Sweep and mop floors with the right tools and solutions, and don’t forget to empty and disinfect trash cans. Organize your pantry and cabinets to maintain a tidy space. Keep up daily hygiene habits for lasting cleanliness, and you’ll find even more helpful tips ahead.
Key Takeaways
- Clear countertops and gather all necessary cleaning supplies before starting to streamline the cleaning process.
- Wash and sanitize dishes and kitchenware with hot water and disinfectants to remove bacteria effectively.
- Deep clean appliances, sinks, floors, and faucets regularly using appropriate cleaners and techniques for each surface.
- Empty and thoroughly clean trash cans frequently to prevent odors and bacterial buildup.
- Maintain daily hygiene by wiping surfaces, sweeping floors, washing dishes, and organizing to keep the kitchen sanitary.
Clear Out Clutter to Start Your Kitchen Cleaning
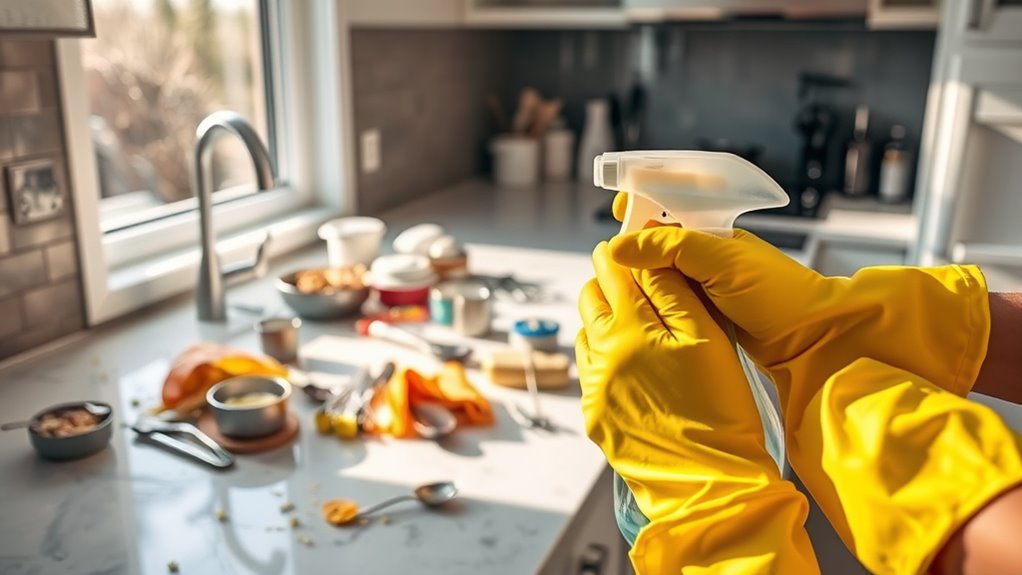
Before you plunge into scrubbing, clear out any clutter on your countertops and in your sink. Tackling kitchen organization first sets the stage for an efficient, thorough cleaning. Start by removing dishes, utensils, and any food items that don’t belong.
Put away appliances you rarely use to free up space. Clutter removal helps you see all surfaces clearly, making it easier to wipe down counters and clean sinks without obstacles. You’ll also reduce the chance of spreading germs hidden under piles of stuff.
Use this opportunity to sort items, deciding what belongs in the kitchen and what should be stored elsewhere. When your countertops are clear, you’ll find it motivates you to keep the space tidy and maintain better kitchen organization long-term.
Clearing clutter isn’t just about looks. It’s about creating a clean, functional environment where your cleaning efforts really shine.
Gather Essential Kitchen Cleaning Supplies
With your countertops clear and organized, you can focus on gathering the right cleaning supplies to tackle every corner of your kitchen effectively. Having essential tools on hand streamlines your kitchen organization and keeps you on track with your cleaning schedules.
Start by collecting multipurpose cleaners, disinfectants, and scrub brushes to cover most surfaces. Don’t forget microfiber cloths and sponges, which are great for wiping and scrubbing without scratching.
Here’s a simple guide to the key supplies you’ll need:
| Cleaning Tool | Purpose |
|---|---|
| Multipurpose Cleaner | Cleans countertops & appliances |
| Disinfectant Spray | Sanitizes food contact surfaces |
| Microfiber Cloth | Wipes and polishes surfaces |
Wash and Sanitize Kitchen Dishes and Utensils
You need to follow proper dishwashing techniques to get rid of food residue and grease effectively. Once you’ve washed your dishes, sanitizing them is key because it kills harmful bacteria and keeps your kitchen safe. So, let’s take a closer look at the best ways to wash and sanitize every item thoroughly.
Proper Dishwashing Techniques
Although dishwashing might seem straightforward, using proper techniques guarantees your kitchen dishes and utensils are thoroughly cleaned and sanitized. Start by scraping off food debris before washing.
If you use a dishwasher, perform regular dishwasher maintenance. Clean filters and check spray arms to ensure peak performance. Load dishes correctly, avoiding overcrowding so water can circulate freely.
For handwashing, use hot water and a good detergent. Follow handwashing tips like scrubbing for at least 20 seconds. Rinse well to remove soap residue, and air-dry dishes to prevent bacterial growth.
Whether you handwash or use a dishwasher, maintaining these proper techniques helps keep your kitchenware clean and ready for safe use.
Effective Sanitizing Methods
Proper dishwashing sets the foundation for safe kitchenware, but sanitizing takes cleanliness a step further by eliminating harmful bacteria and viruses. After washing your dishes and utensils, use chemical disinfectants specifically designed for kitchen use to guarantee thorough sanitization.
These products break down germs that soap and water might miss. You can also apply sanitizing sprays on surfaces and items that aren’t dishwasher-safe. Make sure to follow the instructions on the label for contact time to maximize effectiveness.
Rinse items if required, and let them air dry to avoid recontamination. Incorporating these effective sanitizing methods into your routine keeps your kitchen safer and helps prevent foodborne illnesses, giving you peace of mind every time you prepare meals.
Wipe Down Countertops and Food Prep Areas
Since countertops and food prep areas are where you handle ingredients directly, wiping them down thoroughly is essential to prevent cross-contamination and keep your kitchen safe. Begin by selecting a cleaner suitable for your countertop materials, whether granite, laminate, or stainless steel, to avoid damage.
Use a microfiber cloth to remove crumbs, spills, and residues efficiently. After cleaning, apply a food-safe sanitizer that complies with food safety guidelines to eliminate harmful bacteria and viruses.
Make sure to pay special attention to seams and edges where dirt tends to accumulate. Always follow the sanitizer’s instructions for contact time to ensure effectiveness.
Regularly wiping down these surfaces before and after food preparation minimizes the risk of foodborne illness. By maintaining clean and sanitized countertops and prep areas, you create a safer cooking environment and protect your family’s health.
Keep cleaning supplies handy to make this step quick and routine.
Deep Clean Kitchen Appliances Inside and Out
How often do you give your kitchen appliances a thorough cleaning? Regular appliance maintenance not only keeps your kitchen looking fresh but also extends the life of your devices.
Start by unplugging each appliance for safety. Clean exteriors with a damp cloth and mild detergent, paying close attention to handles and control panels.
Don’t forget to deep clean interiors. Remove racks and trays from ovens and microwaves, and scrub them with appropriate cleaners. Pay special attention to interior ventilation areas; dust and grease buildup can reduce efficiency and cause overheating.
| Appliance | Cleaning Frequency | Key Focus Area |
|---|---|---|
| Refrigerator | Monthly | Interior ventilation |
| Oven | Weekly | Racks and interior |
| Microwave | Weekly | Turntable and walls |
| Dishwasher | Monthly | Filters and seals |
| Toaster/Toaster Oven | Weekly | Crumbs and exterior |
Stay consistent with these steps to keep your appliances running smoothly and safely.
Scrub the Sink and Faucets to Remove Germs
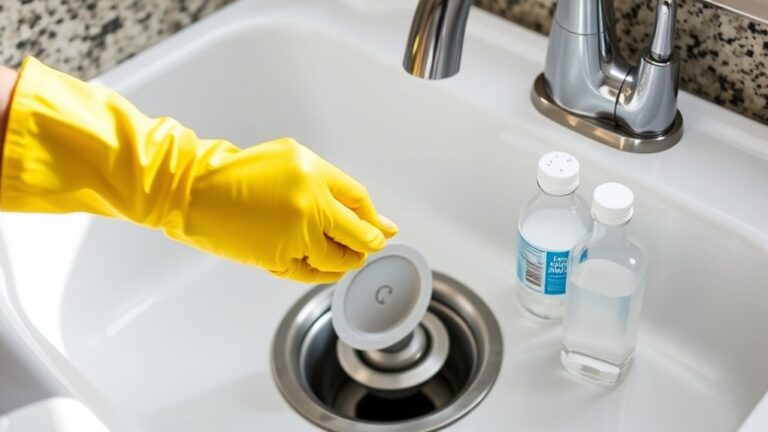
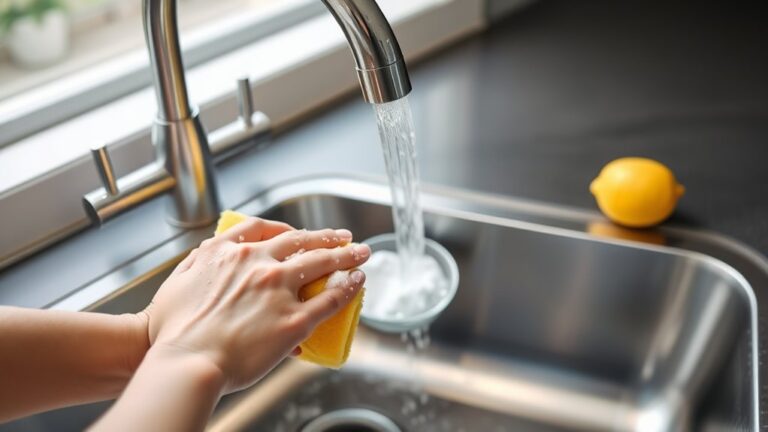
After giving your appliances a thorough cleaning, turn your attention to the sink and faucets, which can harbor a surprising amount of germs. To guarantee effective germ prevention and maintain your faucet’s longevity, follow these simple steps. Start by rinsing the sink to remove any loose debris. Then, apply a disinfectant cleaner or a mixture of baking soda and vinegar to scrub the sink basin and faucet thoroughly.
Don’t forget to clean around the faucet base and handles where grime tends to build up. Rinse everything well and dry with a clean cloth to prevent water spots and bacteria growth.
For proper faucet maintenance and germ prevention, keep these points in mind:
- Use a soft brush to scrub hard-to-reach areas.
- Regularly remove and clean faucet aerators.
- Avoid harsh abrasives that damage finishes.
- Wipe down after each use to reduce moisture.
- Schedule deep cleaning weekly to keep germs at bay.
This routine keeps your sink spotless and your faucets functioning smoothly.
Sweep and Mop Kitchen Floors Effectively
You’ll want to pick the right broom to catch all the crumbs and debris without scattering them. It makes a big difference when you’re trying to get everything up in one go. Using the best mopping techniques also helps you clean more efficiently and avoid streaks or missed spots. And don’t forget, choosing effective floor cleaning solutions is key to keeping your kitchen fresh and germ-free. It’s all about working smarter, not harder!
Choosing The Right Broom
Why does choosing the right broom matter when sweeping your kitchen floors? The right broom makes your cleaning faster and more efficient, preventing dust and debris from scattering.
Regarding broom selection, consider these key points:
- Bristle type: soft for fine dust, stiff for larger debris
- Size: a wider broom covers more floor area quickly
- Handle length: choose one comfortable for your height
- Dustpan options: opt for a dustpan with a rubber edge to catch dirt easily
- Storage: a broom with a hanging hole saves space
Picking the proper broom tailored to your kitchen floor’s needs ensures you sweep thoroughly without extra effort. Combine it with the right dustpan, and you’ll keep your kitchen spotless in no time.
Best Mopping Techniques
How can you guarantee your kitchen floors stay spotless after sweeping? Start by choosing the right mopping patterns. Use a figure-eight or S-shaped motion to cover every inch efficiently without pushing dirt around.
This technique ensures thorough cleaning and speeds up drying time. For floor stain removal, address spots immediately by applying a bit of water and scrubbing gently with a microfiber mop or soft brush.
Avoid soaking the floor, as excess water can damage certain surfaces. Change your mop water frequently to prevent redistributing grime.
Finally, rinse your mop well after use to keep it clean for next time. By following these best mopping techniques, you’ll maintain a fresh, hygienic kitchen floor that complements your sweeping efforts perfectly.
Effective Floor Cleaning Solutions
What makes a floor cleaning solution truly effective? It’s one that not only cleans but also protects your kitchen floors without harming the environment. When you choose eco-friendly solutions, you reduce chemical exposure and keep your home safer.
To sweep and mop kitchen floors effectively, focus on these key points:
- Use natural ingredients like vinegar or baking soda for stain removal techniques
- Dilute cleaners properly to avoid residue buildup
- Select a mop that suits your floor type for better dirt lift
- Sweep thoroughly before mopping to remove loose debris
- Air dry floors or use a microfiber cloth for a streak-free finish
Empty and Sanitize Your Trash Can
When was the last time you thoroughly emptied and sanitized your trash can? If it’s been a while, now’s the perfect moment to tackle it. Start by removing the bag and any loose debris inside.
Next, take the trash can outside or to a well-ventilated area. Use warm water and a disinfectant or a bleach solution to scrub every surface, paying special attention to corners and the lid where grime tends to build up.
Take your trash can outside and scrub every surface with warm water and disinfectant, focusing on corners and the lid.
This deep clean not only removes visible dirt but also helps with odor elimination, preventing unpleasant smells from lingering in your kitchen. After scrubbing, rinse thoroughly and allow the trash can to dry completely before placing a new bag inside.
Regularly emptying and sanitizing your trash can is essential to maintain a fresh, hygienic kitchen environment, so make this step part of your routine cleaning schedule. It’s a simple habit that goes a long way in keeping your kitchen clean and odor-free.
Organize Pantry and Cabinets for a Tidy Kitchen
Although it might seem like an intimidating task, organizing your pantry and cabinets can instantly transform your kitchen’s functionality and appearance. Effective pantry organization and cabinet arrangement help you find ingredients faster, reduce food waste, and create a more inviting space.
Start by removing everything, then sort items into categories like snacks, baking supplies, and canned goods. Use clear containers or bins for better visibility. To get you started, focus on these key steps:
Group similar items together for easy access
Label shelves or containers to maintain order
Store frequently used items at eye level
Use shelf risers or organizers to maximize space
Discard expired or unused products to declutter
Maintain Kitchen Cleanliness With Simple Daily Habits
You can keep your kitchen spotless by sticking to a simple daily cleaning routine that tackles messes before they build up. It’s all about staying on top of things so dirt and grime don’t get a chance to settle in. Using effective sanitizing techniques guarantees your surfaces stay germ-free and safe. Plus, it helps prevent any unwanted bacteria from spreading around.
Let’s take a look at some easy habits that make maintaining cleanliness quick and manageable. These little routines don’t take much time but make a big difference in keeping your kitchen fresh and inviting every day.
Daily Cleaning Routine
How can you keep your kitchen spotless without spending hours cleaning? The key lies in a simple daily cleaning routine that fits into your schedule. By focusing on kitchen organization and sticking to cleaning schedules, you’ll prevent messes from piling up.
Start with these easy daily habits:
- Wipe down countertops and stovetops after cooking
- Load and run the dishwasher or wash dishes immediately
- Sweep the floor to remove crumbs and debris
- Organize pantry items and put things away promptly
- Empty trash to avoid odors and overflow
Incorporating these steps into your daily routine keeps your kitchen tidy and manageable. Consistency makes a big difference, so set reminders if needed, and enjoy a clean kitchen every day.
Effective Sanitizing Techniques
When you combine regular cleaning with effective sanitizing techniques, you create a safer kitchen environment that reduces harmful bacteria and germs. Start by choosing a reliable sanitizer approved for kitchen use to guarantee effective sterilization.
After cleaning surfaces, apply the sanitizer and let it sit for the recommended time to maximize germ elimination. Focus on high-touch areas like countertops, handles, and cutting boards.
Don’t forget to sanitize sponges and dishcloths regularly, as they harbor bacteria. Using a spray or wipe that kills 99.9% of germs helps maintain hygiene effortlessly.
Consistent application of these techniques prevents cross-contamination and keeps your kitchen safe for food preparation. By adopting these simple daily habits, you’ll maintain a clean kitchen that supports your family’s health.
Frequently Asked Questions
How Often Should I Replace Kitchen Sponges and Dishcloths?
You should replace kitchen sponges every one to two weeks to maintain a healthy sponge lifespan and avoid bacteria buildup. For dishcloth replacement, aim to swap them out every two to three days, especially if they get damp or dirty quickly.
If you notice any unpleasant odors or wear, replace them sooner. Regular replacement keeps your kitchen cleaner and reduces the risk of cross-contamination during food prep and cleanup.
What Natural Ingredients Can I Use for Kitchen Cleaning?
You can clean your kitchen with natural disinfectants that work like magic! Vinegar, baking soda, and lemon juice are powerful, eco friendly cleaners that cut through grease and kill germs without harsh chemicals.
Mix vinegar and water for an all-purpose spray, sprinkle baking soda on tough stains, or use lemon juice to brighten surfaces. These ingredients keep your kitchen sparkling clean and safe for your family while being kind to the planet.
How Do I Safely Clean Kitchen Walls and Ceilings?
To safely clean kitchen walls and ceilings, start by dusting ceiling dust with a microfiber cloth or vacuum using a brush attachment.
For wall stains, mix warm water with a mild detergent or natural cleaner like vinegar. Gently scrub the stains using a soft sponge or cloth, avoiding harsh scrubbing to protect paint.
Rinse with clean water and dry thoroughly to prevent moisture buildup. This keeps your kitchen fresh without damaging surfaces.
Can I Use Vinegar to Sanitize Cutting Boards?
You can absolutely use vinegar to sanitize cutting boards. It’s like waving a natural white flag against germs. Vinegar safety is solid for this task since its acidity helps break down bacteria without harsh chemicals.
For cutting board maintenance, spray or soak them briefly in vinegar, then rinse well. Just avoid using vinegar on wooden boards too often, as it might wear them down over time. Keep your boards fresh and safe with this simple, natural trick.
What Are the Best Ways to Prevent Mold in the Kitchen?
To prevent mold growth in your kitchen, you should keep the area dry and well-ventilated. Use proper ventilation tips like running exhaust fans while cooking and opening windows to reduce humidity.
Wipe down surfaces regularly, especially near sinks and appliances, to remove moisture. Also, fix leaks promptly and avoid leaving wet sponges or cloths around.
Conclusion
Just like a garden thrives when you tend to it regularly, your kitchen stays fresh and inviting when you keep up with these steps. Imagine a sparkling countertop as a calm lake reflecting your effort.
By clearing clutter, scrubbing surfaces, and organizing daily, you create a space where cooking feels joyful, not stressful. Stick to these habits, and your kitchen will reward you with cleanliness and comfort every single day.
Following these 10 easy steps to clean and sanitize a kitchen ensures your space stays healthy and welcoming. Keep it up, and you’ll enjoy a kitchen that truly shines.