How to Check the Temperature Inside Your Freezer
Worried that your freezer isn’t cold enough to keep food safe, or tired of guessing whether it’s working properly? You’re not alone—many people struggle to check freezer temperatures accurately. The right thermometer can make monitoring easier and give you peace of mind.
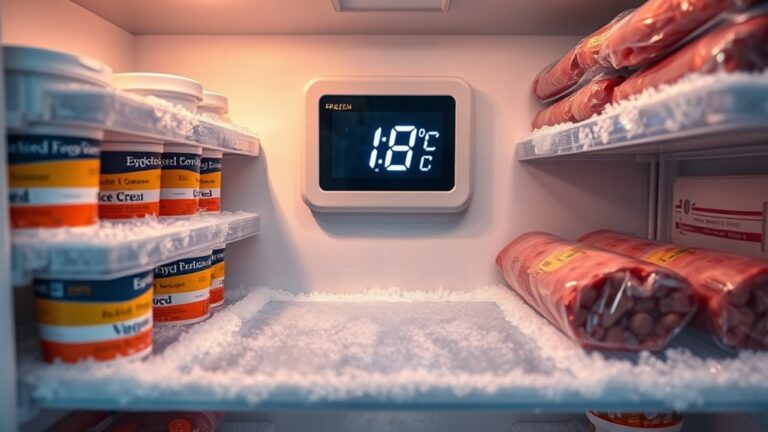
To check your freezer temperature, place a freezer-rated digital or dial thermometer in the center, between frozen packages and away from walls, vents, and the door. Keep the door closed and wait several hours, preferably overnight, for an accurate reading.
Confirm it shows 0°F (-18°C) or colder. If it’s warmer, check the gasket, airflow, frost, and load, then adjust the setting one level and recheck later. You’ll find more ways to troubleshoot temperature changes below.
Key Takeaways
- Place a freezer-rated thermometer in the center, between frozen packages, away from walls, vents, and the door.
- Keep the door closed and wait several hours, preferably overnight, for the temperature to stabilize.
- Check and record the thermometer reading briefly without moving it or rearranging food.
- Confirm the freezer reads 0°F (-18°C) or colder for safe, quality food storage.
- If temperatures are too warm or inconsistent, inspect seals, airflow, frost buildup, and temperature settings.
Know the Ideal Freezer Temperature
Your freezer should stay at 0°F (-18°C) or colder to keep food safely frozen and preserve its quality. This temperature slows bacterial growth and helps protect texture, flavor, and nutrients.
Set your freezer slightly below 0°F if frequent door openings or a heavily loaded compartment cause temperature swings.
For reliable frozen food storage, keep items tightly wrapped or sealed, leave space for cold air to circulate, and avoid placing large amounts of warm food inside at once.
A consistently cold freezer also supports energy efficiency because it doesn’t need to work as hard to recover from repeated temperature changes.
However, don’t turn the setting unnecessarily low. Temperatures far below 0°F can increase energy use without meaningfully improving safety or quality.
Check your appliance’s manual for its recommended control setting, since numbered dials don’t correspond to exact temperatures.
Keep the door closed as much as possible, and arrange food so you can retrieve items quickly while maintaining the ideal temperature.
Choose a Freezer Thermometer
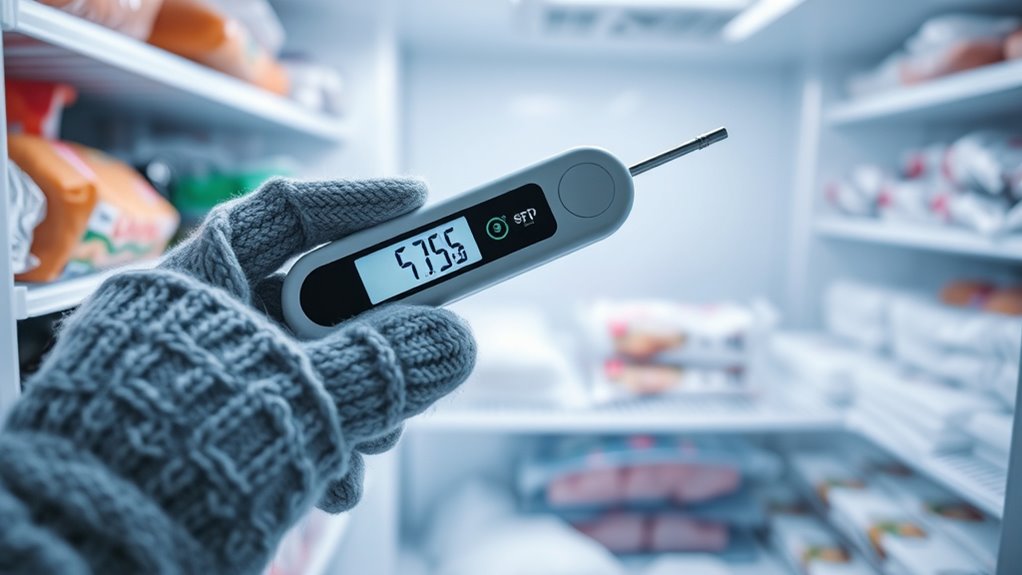
Choose a digital or dial thermometer made for freezer use. Make sure it covers the recommended temperature range, including 0°F (-18°C), and has an easy-to-read display. Place it somewhere convenient so you can quickly check the temperature and get more reliable readings.
Digital or Dial Thermometers
Digital thermometers give you quick, precise readings, while dial thermometers offer a simple, battery-free option. Choose a model that fits your freezer compartment and remains easy to read through frost or dim lighting.
Place it between frozen packages rather than against a wall, where temperatures may vary. A thermometer can also help you investigate ice crystal formation, which may signal temperature fluctuations or poor sealing.
| Type | Strength | Consideration |
|---|---|---|
| Digital | Fast, clear display | Needs batteries |
| Dial | Battery-free operation | Takes longer to read |
Look for a waterproof, freezer-rated design with a wide reading range. If you prefer convenience, choose digital; you’ll see changes quickly and may find memory features useful.
Choose dial if you want a durable, low-maintenance tool. Whichever style you select, position it consistently so comparisons remain reliable when you check it.
Recommended Temperature Range
Once you’ve selected a freezer thermometer, check that it covers the recommended range of 0°F (−18°C) or colder. This range supports food safety by keeping harmful bacterial growth under control and preserving food quality during storage.
Choose a model that measures several degrees below 0°F, so you can spot excessive cooling without reaching its limit. You’ll also want enough range above 0°F to detect a warming freezer before food begins to thaw.
Accurate readings help you adjust the appliance appropriately, supporting energy efficiency without compromising safe storage. Place the thermometer where you’ll measure the freezer’s typical conditions, rather than next to the door or a cooling vent.
Check its stated accuracy, too, because a small measurement error can affect your decision about whether the freezer needs adjustment or service.
Easy-to-Read Display
A clear, easy-to-read display lets you check the freezer’s temperature quickly without opening the door for long. Choose a thermometer with large numbers, strong contrast, and a backlight if your freezer is dim.
You should be able to read it at a glance through the glass or after briefly opening the door. A digital model can show precise readings, while a dial thermometer works without batteries.
Look for a display that stays visible in cold, humid conditions and includes a low-temperature range suitable for freezers. Place the thermometer where you can see it easily, away from the cooling vent or door.
As part of your maintenance tips, wipe the display clean and check its accuracy regularly. Reliable readings support food safety and energy efficiency by helping you spot problems early.
Place the Thermometer Correctly
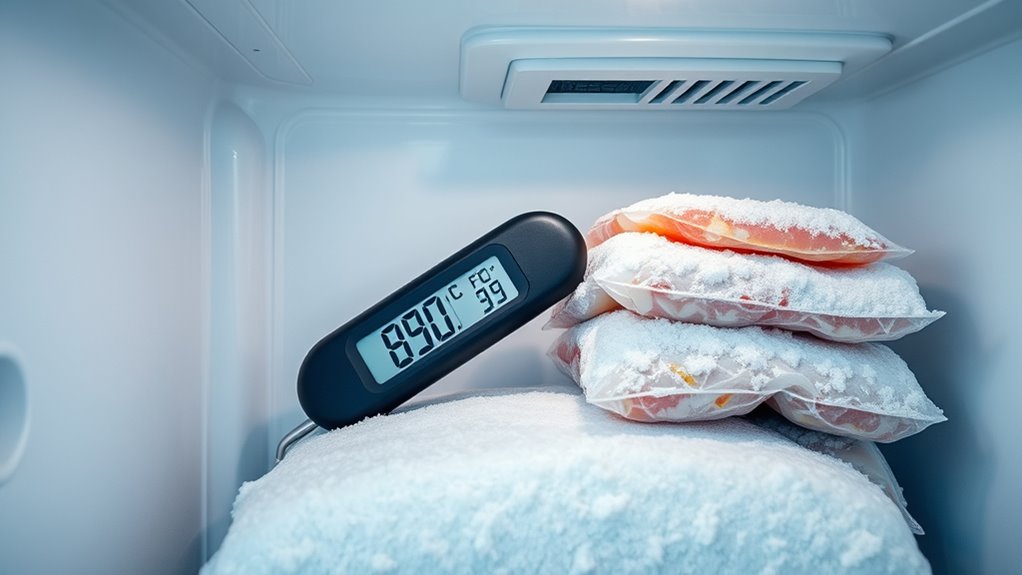
Place the thermometer in the center of the freezer, where food surrounds it and temperature changes are less extreme. Set it on a shelf or place it in a container of frozen food, keeping it upright and easy to read.
Don’t position it against a wall, near the door, beside a vent, or directly above the cooling unit. Those spots can expose the thermometer to warmer air or unusually cold airflow, producing a misleading result.
Good Freezer organization helps you choose a stable location. Leave space around the thermometer so air can circulate, but don’t let packages press against it or cover its display.
If you use a hanging model, secure it to a shelf rather than letting it dangle near the door. Check the manufacturer’s instructions for proper placement and confirm its Thermometer calibration before installation.
Keep the device away from loose ice, spills, and sharp packages that could damage its sensor.
Wait for an Accurate Reading
Give the thermometer time to stabilize before checking it. Wait several hours—preferably overnight—so it can accurately reflect the freezer’s true temperature. Then read the display, keeping the door open only briefly.
Allow Time to Stabilize
Once you’ve placed the thermometer inside the freezer, close the door and leave it undisturbed for several hours, ideally overnight. This waiting period allows temperature stabilization, so the thermometer can adjust to the freezer’s consistent internal conditions.
Don’t open the door, rearrange food, or move the device during this time, because warm air and handling can interfere with its adjustment. Positioning matters, too: keep the thermometer away from the walls, vents, ice buildup, and direct contact with frozen items.
Follow the thermometer manufacturer’s instructions for the recommended settling time, since different models respond at different speeds. Patience helps you avoid reacting to a temporary fluctuation.
It also gives you a dependable basis for freezer calibration, helping you judge whether the appliance maintains its intended setting consistently.
Check After Several Hours
After several hours, check the thermometer without opening the freezer for longer than necessary. This waiting period lets the appliance complete its cooling cycle and gives you a more reliable reading.
Opening the door repeatedly can introduce warm air, causing temperature fluctuations that distort your results. Read the display quickly, then close the door firmly to preserve the cold air.
Compare the reading with the recommended freezer temperature of 0°F (-18°C) or lower. If it’s warmer, wait a little longer and check again to confirm the result.
A single unusual reading may reflect a recent door opening, a defrost cycle, or newly added food. Consistently high temperatures can affect food safety and reduce storage quality, so investigate possible problems promptly.
Record the reading and time to track performance over several checks.
Read the Freezer Temperature
Place the thermometer where you can easily see it without opening the freezer door for long. After several hours, open the door briefly and check the display or dial.
Place the thermometer in a visible spot, then check the reading briefly after several hours without leaving the freezer door open.
Read the number at eye level, and note whether it shows Fahrenheit or Celsius. Your freezer should generally stay at 0°F (-18°C) or below to support food safety and keep food solid.
If the reading is higher than 0°F, avoid guessing. Check that you read the scale correctly, then close the door and let the freezer run before checking again.
A slightly changing reading can occur as the appliance cycles, so record the temperature and time to track a pattern. Don’t adjust the control repeatedly after one reading. Give the freezer time to respond.
Keep the thermometer visible during your routine freezer organization, but don’t leave the door open while studying it. If the temperature remains too high, inspect the seal, settings, and power supply before moving on.
Check Temperature in Different Spots
A single reading may not represent the entire freezer, so check the temperature in several spots. Place your freezer thermometer near the front, center, and back, leaving it in each location long enough to reach a stable reading. Check both an upper shelf and a lower shelf, since cold air can settle and create different Temperature zones.
Keep the thermometer away from walls, vents, the door, and large containers. These locations may give readings that don’t reflect the temperature surrounding most of your Frozen food. For a more useful comparison, position the thermometer beside packaged items without burying it between them. Record each result, then compare the numbers.
If one area reads warmer than another, use the coldest suitable location for temperature checks and confirm that every section remains cold enough for safe storage. Move the thermometer between spots on separate checks rather than judging the freezer from one convenient position.
Look for Causes of Temperature Swings
Temperature swings can point to problems with your freezer’s door seal or airflow. Start by checking the seal for gaps, cracks, or loose sections that could let warm air in. Then, inspect the vents to make sure food or ice isn’t blocking the airflow.
Check Door Seal
If your freezer temperature swings, inspect the door seal for gaps, cracks, or food debris that could let warm air inside. A damaged door gasket allows cold air to escape and makes the compressor work harder.
Check seal integrity by examining the entire perimeter, especially the corners and hinge side.
- Close the door on a sheet of paper. If you can pull it out easily, the seal may be too loose.
- Wipe crumbs, spills, and frost from the gasket and mating surface.
- Look for flattened, brittle, torn, or warped rubber.
- Confirm shelves or packages aren’t preventing full closure.
Clean the gasket with mild soapy water, then dry it completely. Replace it if cleaning doesn’t restore a snug seal.
Don’t use sharp tools or force the rubber, which could create additional damage. Recheck the temperature after the door seals properly.
Inspect Airflow Blockages
Next, inspect the freezer’s vents and air passages for blocked airflow. Move boxes, bags, and containers away from interior vents, leaving enough vent clearance for cold air to circulate.
An airflow obstruction can create warm spots, frost buildup, and temperature swings. Check whether ice has formed around the passages.
If so, transfer food to a safe cooler and defrost the freezer according to its instructions. Don’t chip ice with a knife, which could damage hidden components.
| Check | What to do | Warning sign |
|---|---|---|
| Interior vents | Clear nearby items | Uneven temperatures |
| Rear passage | Remove frost safely | Heavy ice |
| Fan area | Listen for operation | No airflow |
Afterward, arrange food loosely and keep packages from touching the back wall. Wait several hours, then recheck the temperature.
Persistent swings may require professional service.
Adjust the Freezer Setting Carefully
Adjust the freezer setting in small increments rather than making a drastic change. After checking the interior temperature, move the control slightly, then wait several hours before measuring again. This gradual approach helps you identify the setting that keeps food safely frozen without overworking the appliance.
Use these steps to fine-tune the control:
- Record the current temperature and setting before making changes.
- Adjust the dial or digital control by one level at a time.
- Keep the door closed while the freezer stabilizes.
- Check the temperature again and note the result.
Aim for approximately 0°F (-18°C), unless your manufacturer recommends a different target. If the freezer runs colder than necessary, it may waste electricity and reduce Energy efficiency.
If it runs warmer, food quality can suffer. Include temperature checks in your regular Freezer maintenance routine, especially after seasonal changes or heavy loading.
Make each adjustment only after the previous one has had enough time to take effect.
Know When Temperature Problems Need Repair
Persistent temperature problems may point to a failing thermostat, door seal, condenser, or compressor. If your thermometer shows unusual readings after you’ve checked placement, settings, and airflow, investigate further rather than repeatedly changing the control.
Listen for unusual clicking, buzzing, or nonstop running, and look for frost buildup, damaged gaskets, or excessive heat around the cabinet.
| Warning sign | Recommended action |
|---|---|
| Temperature swings | Test the thermostat and call a technician |
| Motor runs constantly | Clean accessible coils; schedule service |
| Door seal feels loose | Replace the gasket if cleaning fails |
Unplug the freezer before cleaning coils or examining components, and don’t remove sealed-system parts yourself.
A qualified professional can test electrical components, refrigerant pressure, and compressor performance safely. Prompt repairs can protect food, restore energy efficiency, and prevent a small defect from becoming an expensive breakdown.
Record thermometer readings, symptoms, and when they occur to help diagnose the cause. Include these observations in your maintenance tips, and seek service promptly if the appliance overheats, trips a breaker, or produces a burning smell.
Keep Your Freezer at 0°F
Once your freezer is operating properly, set it to 0°F, the recommended temperature for keeping frozen food safely stored and maintaining quality. Use a reliable appliance thermometer to verify the actual temperature, since the dial setting may not match the interior reading.
Check it after loading groceries, defrosting, or adjusting the control, and record readings to spot changes early.
Improve stability and efficiency with these habits:
- Keep the door closed as much as possible to prevent warm air from entering.
- Leave space around packages and vents so cold air can circulate evenly.
- Practice smart Freezer organization by labeling food and placing older items where you’ll use them first.
- Inspect the door gasket and clean the condenser area regularly to support consistent cooling.
Don’t pack food tightly against the walls, and avoid placing hot items inside. Although 0°F can increase Power consumption compared with warmer settings, it protects food quality.
If temperatures remain above 0°F, troubleshoot promptly and seek service when necessary.
Frequently Asked Questions
Can Freezer Temperature Affect Food Quality and Nutritional Value?
Yes, your freezer temperature can affect food quality and nutritional value. When you maintain proper Temperature stability, frozen foods retain their texture, flavor, color, and more nutrients.
Temperature fluctuations cause partial thawing and refreezing, which can create ice crystals, dry food, and reduce quality. For Food safety, keep your freezer at 0°F (-18°C) or below.
You’ll protect foods best by limiting door openings and checking temperatures regularly.
How Often Should I Clean My Freezer While Monitoring Its Temperature?
Clean your freezer every three months, unless you enjoy cultivating an icy archaeological dig. Your cleaning frequency should increase after spills, spoiled food, or heavy frost buildup.
During each cleaning, remove food, discard questionable items, wipe surfaces with mild soap, and dry everything thoroughly. Continue temperature monitoring afterward, because cleaning can briefly warm the compartment.
Check the thermometer once it stabilizes, and verify that it remains at 0°F (-18°C) or below.
What Foods Should Never Be Stored in a Freezer?
You shouldn’t freeze eggs in their shells, fresh produce with high water content, creamy sauces, custards, gelatin, or soft cheeses because they can crack, separate, or turn mushy. Avoid freezing canned foods in their containers, too.
For ideal storage, transfer suitable foods into airtight, freezer-safe packaging, label dates, and leave room for expansion.
Follow freezer safety practices by keeping food properly sealed, maintaining a steady temperature, and discarding items showing spoilage or freezer burn.
Can Power Outages Spoil Frozen Food?
Yes, a power outage can spoil frozen food, but you shouldn’t discard everything immediately. Keep the freezer closed; a full freezer usually stays cold for about 48 hours, while a half-full one lasts roughly 24.
When power returns, check for ice crystals or temperatures below 40°F (4°C). Never taste questionable food.
For power outage prevention, use surge protection; follow emergency food safety guidance and discard thawed perishables.
How Can I Organize My Freezer for Better Airflow?
Organize your freezer for better airflow by leaving small gaps between packages and avoiding overcrowding. Keep items in labeled baskets or containers so you can find food without blocking vents.
Arrange food according to temperature zones: place frequently used items near the front and delicate foods away from the door. Don’t stack packages tightly against the walls.
Check that air circulation remains unobstructed, and rotate older food forward so nothing gets forgotten.
Conclusion
Now you know how to check the temperature inside your freezer and why a small reading matters. Place a reliable thermometer correctly, wait for an accurate result, and confirm that it stays at 0°F.
If the temperature keeps drifting, don’t ignore the warning. Crowded shelves, poor seals, or failing parts could threaten your food. Adjust the setting carefully, then monitor it again.
That quiet thermometer may reveal a problem before your freezer does.