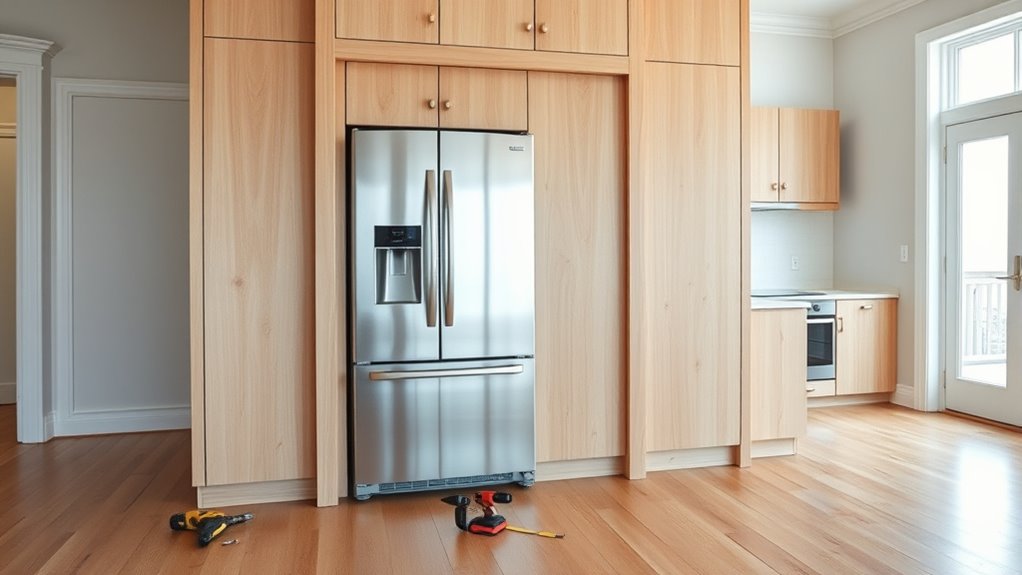
How to Build a Built-In Fridge Cabinet
Trying to create a seamless kitchen but struggling with how to hide an appliance without restricting airflow? You’re not alone—many people find that building a built-in fridge cabinet requires careful planning.
This guide to how to build a built-in fridge cabinet covers the key measurements, materials, ventilation needs, and finishing details for a safe, polished result.
To build a built-in fridge cabinet, first confirm your refrigerator allows enclosed installation and note its required clearances. Measure the appliance and opening at several points, allowing space for doors, hinges, ventilation, and service access.
Use sturdy, moisture-resistant plywood or MDF, anchor the frame to wall studs, and protect all cut edges. Install panels and trim without blocking airflow, then level and secure the refrigerator.
Test doors, drawers, cooling, and ventilation. The steps below cover common mistakes and finishing details.
Key Takeaways
- Verify the refrigerator is designed for built-in installation and follow its required ventilation, clearance, electrical, and warranty guidelines.
- Measure the refrigerator and cabinet opening at multiple points, using the smallest dimensions to ensure proper fit.
- Build a square, level cabinet frame from durable materials, then anchor it securely to wall studs and floor framing.
- Install panels, fillers, trim, and ventilation openings while preserving door-swing, service, and airflow clearances.
- Level and secure the refrigerator, connect utilities safely, and test doors, drawers, ventilation, and overall operation.
Confirm Your Refrigerator Works in a Cabinet
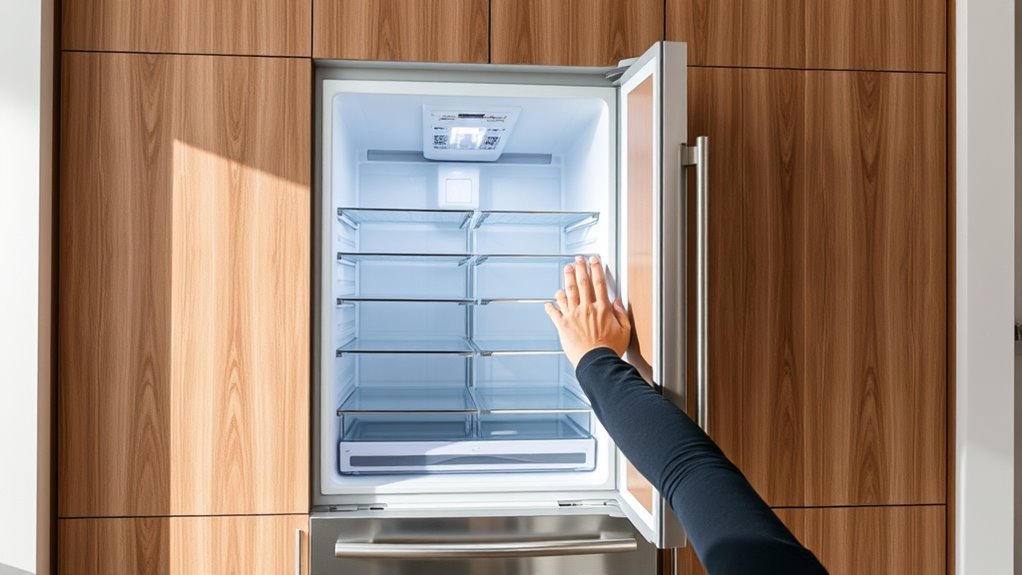
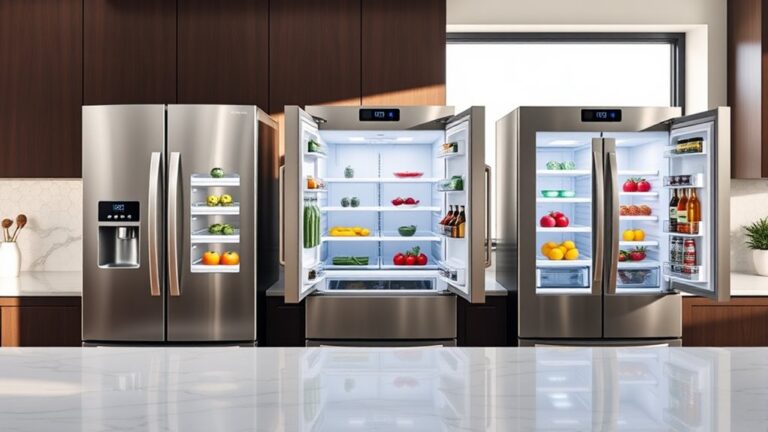
Before building a cabinet around your refrigerator, confirm that the model is designed for built-in or enclosed installation. Check the owner’s manual for required ventilation, clearance, and installation warnings.
Freestanding refrigerators often release heat through their sides, back, or top, so enclosing them can restrict airflow, increase energy use, or damage the compressor.
Look for manufacturer-approved trim kits, grille requirements, and cabinet installation instructions. If the manual doesn’t clearly allow enclosure, contact the manufacturer before proceeding.
You’ll also want to verify Kitchen appliance compatibility if you’re placing the refrigerator near ovens, dishwashers, or heat-producing equipment. Excess heat can affect performance and shorten the appliance’s life.
Review warranty terms, since modifying ventilation or installing the unit improperly may void coverage. Plan access to the plug, water filter, shutoff valve, and service panels so future Refrigerator maintenance remains practical.
Don’t begin cabinet construction until you’ve confirmed every requirement for your specific model.
Measure the Fridge and Cabinet Opening

Start by measuring the refrigerator’s full height, width, and depth, including doors, handles, hinges, and any required ventilation space. Record the Fridge dimensions in inches.
Then measure the planned cabinet opening from finished floor to ceiling, wall to wall, and front to back. Use a level and steel tape for reliable readings.
Check each measurement in several places because walls and floors may vary slightly. Base your cabinet size on the smallest opening measurement, not the largest.
| Measurement | Fridge | Opening |
|---|---|---|
| Height | ____ | ____ |
| Width | ____ | ____ |
Measure the cabinet’s interior, not just its face frame. Note trim, uneven drywall, flooring, and nearby cabinets that could reduce usable space.
Compare the appliance and opening measurements before cutting panels. Record the Cabinet clearance you’ll need for installation and adjustment, but don’t finalize door or ventilation planning here.
Keep your notes and appliance specifications together for later layout decisions.
Plan Clearance for Doors and Ventilation
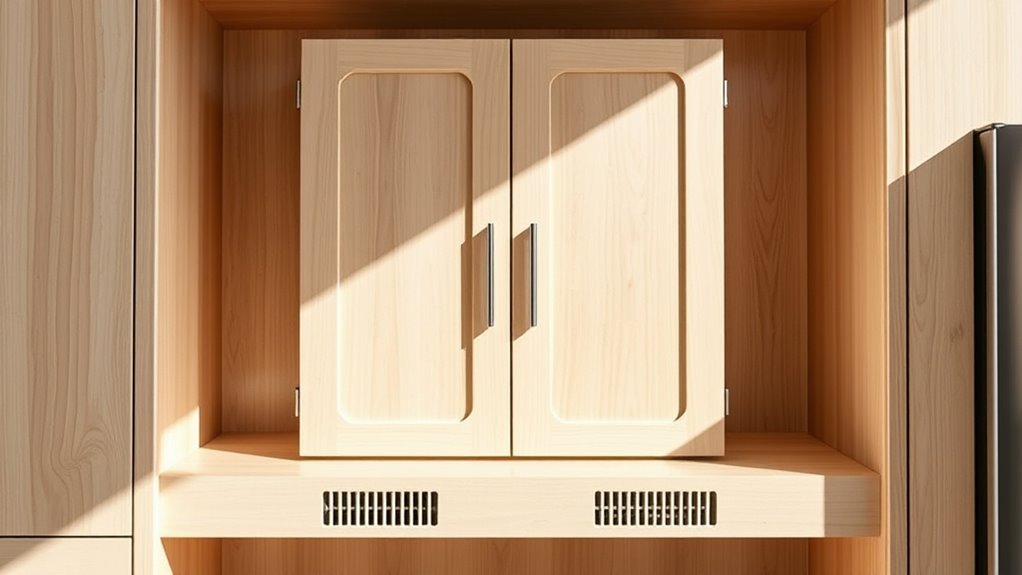
Make sure there’s enough room for the fridge doors to open fully without hitting walls, cabinets, or nearby appliances. Also, leave the ventilation gaps recommended by the manufacturer so the unit can cool efficiently. Before installation, check all cabinet clearances to ensure the doors, drawers, and trim won’t interfere.
Measure Door Swing Space
Measure the fridge door’s full swing, not just the cabinet opening, so nearby walls, islands, and handles won’t block access. Open each door to its widest position, then mark the arc on your floor plan.
Check the manufacturer’s specifications for required door clearance, especially if the model uses thick panels or a French-door design. Account for hinge space beside the cabinet because hinges may extend beyond the box or require extra room for adjustment.
Confirm that drawers, adjacent appliances, and walkway traffic won’t interfere.
- Mark the door’s outermost edge.
- Test both left- and right-hand swings.
- Measure handle projection.
- Check clearance with doors fully open.
- Verify access to shelves and bins.
Mock up the footprint with painter’s tape before installation. You’ll catch conflicts early and can shift the cabinet or revise the layout before cutting materials.
Allow Ventilation Gaps
Leave the manufacturer’s specified ventilation gaps around the fridge cabinet so heat can escape and the appliance can run efficiently. Check the installation manual for exact ventilation requirements before you cut panels or install trim.
You’ll typically need open space above, behind, or beneath the appliance, depending on its cooling design. Don’t block vents with cabinet backs, shelves, insulation, or decorative panels.
Include airflow considerations in your plan, and use vented grilles when the cabinet conceals required openings. Keep the air path unobstructed from intake to exhaust so the compressor won’t overheat or work unnecessarily hard.
If you’re enclosing the top or sides, follow the specified gap dimensions precisely. Plan removable access panels where necessary, allowing service technicians to reach ventilation components without dismantling the cabinet.
Check Cabinet Clearances
Before you build the enclosure, verify the cabinet’s internal dimensions against the fridge’s required clearances for ventilation, door swing, hinges, handles, and leveling. Measure the appliance and compare every figure with the manufacturer’s clearance guidelines.
Plan appliance placement so doors open fully without striking walls, adjacent cabinets, or an island. Keep in mind that handles may need extra room beyond the listed width.
- Leave the specified top, side, and rear ventilation spaces.
- Confirm the hinge side can open to the desired angle.
- Allow drawers, bins, and shelves to pull out completely.
- Check that flooring and trim won’t block leveling feet.
- Mark door-swing limits on the floor before installation.
If your layout feels tight, widen the cabinet or shift nearby obstacles now. A small adjustment during planning prevents damaged finishes, restricted cooling, and frustrating daily use.
Recheck measurements after adding panels, fillers, and trim.
Choose Materials for the Fridge Cabinet
Choose durable cabinet materials that can support the fridge and stand up to daily use. Match the existing kitchen finishes for a cohesive look, then choose hardware and fasteners that suit the cabinet’s weight and the installation surface.
Select Durable Cabinet Materials
Durable materials help your built-in fridge cabinet withstand daily use, moisture, and the refrigerator’s weight without warping or sagging. Choose panels and supports based on load, humidity, and fastening strength.
Material durability matters most around the cabinet’s base, hinges, and refrigerator opening.
- Use ¾-inch plywood for sturdy side panels and shelves.
- Select moisture-resistant MDF for smooth, paint-ready surfaces.
- Add solid-wood edging to protect exposed panel edges.
- Choose hardwood or plywood cleats for reliable wall anchoring.
- Seal cut edges to limit swelling from spills and condensation.
Check each sheet for warping before installation. Avoid thin particleboard where heavy appliances or frequent movement could weaken joints.
Consider aesthetic matching when choosing grain, texture, or paint compatibility, but prioritize structural performance first. Confirm that your selected materials can accept screws securely and remain stable throughout seasonal temperature changes.
Match Existing Kitchen Finishes
Match the fridge cabinet to your kitchen’s existing finishes so it looks intentional rather than added on. Start by comparing your cabinet doors, drawer fronts, and trim.
Choose paint or stain that matches closely, or select a complementary tone for a deliberate contrast. If your kitchen uses wood, compare grain direction, species, and sheen before buying panels.
For painted cabinetry, take a removable door or drawer to the store for color matching, since lighting can alter appearances.
Repeat nearby details, such as a beadboard panel, slab profile, or decorative end panel, to reinforce your design aesthetic.
Check material compatibility between the cabinet box, face frame, and surrounding surfaces so they age consistently.
Test samples in morning and evening light, then confirm the finish works with your countertops, flooring, and backsplash.
Choose Proper Hardware and Fasteners
Select hardware and fasteners that can support the cabinet’s weight and withstand daily vibration from the refrigerator. Your hardware selection should match the cabinet material, wall structure, and door style.
Choose corrosion-resistant hinges, sturdy handles, and adjustable shelf pins rated for repeated use. For fastener types, use cabinet screws for joined panels, structural screws for wall anchoring, and appropriate anchors when you can’t hit studs.
- Use pocket-hole screws only where hidden joints won’t carry major loads.
- Choose washer-head screws to spread pressure across particleboard or plywood.
- Pre-drill near edges to prevent splitting and bulging.
- Secure the cabinet to studs, not drywall alone.
- Test hinges and handles before loading the doors.
You’ll also need shims to keep the enclosure level and maintain even refrigerator clearances. Don’t overtighten screws, which can strip engineered wood.
Confirm every connection stays accessible for future adjustments or repairs.
Prepare the Wall, Floor, and Power
Before you move the fridge into place, inspect the wall, floor, and power supply to confirm they can support a safe, level installation. Begin your wall preparation by removing loose trim, patching damage, and checking for plumbing or wiring with a stud finder and detector.
Mark uneven areas and plan how you’ll correct them without concealing accessible shutoffs or outlets.
Check the floor for dips, soft spots, or moisture damage. Sweep thoroughly, then measure the opening from several points to identify slopes that could affect the refrigerator’s level.
Repair serious damage before installation, and follow the appliance manufacturer’s clearance and leveling requirements.
For power setup, locate a properly grounded, dedicated receptacle within the specified reach of the cord. Don’t use an extension cord, adapter, or overloaded circuit.
Have a qualified electrician correct unsafe wiring, relocate an unsuitable outlet, or install required protection. Confirm the circuit rating matches the refrigerator’s specifications, and keep the connection accessible after placement.
Build and Anchor the Cabinet Frame
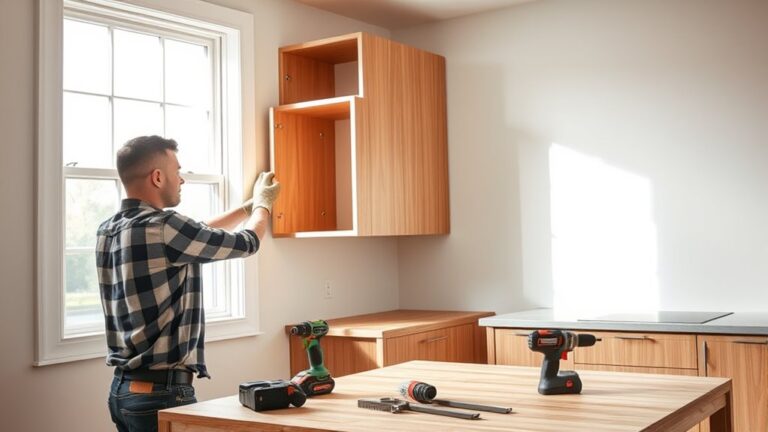
Assemble the cabinet frame according to the plans, and check each joint to make sure it’s square. Position the frame around the fridge opening, then anchor it securely to the wall and floor. This stable base will support the cabinet and keep the fridge properly aligned.
Assemble Cabinet Frame
Once the cabinet parts are cut and labeled, build the frame on a level surface, fastening the sides, top, bottom, and support rails with screws. Check your cabinet design before joining pieces, confirming every edge faces the correct direction.
Your material selection should withstand the refrigerator’s weight and daily use. Apply wood glue to mating edges, then drive screws through predrilled holes to prevent splitting. Keep corners square as you tighten each connection.
- Clamp panels before drilling for cleaner joints.
- Use a square to verify every corner.
- Install rails flush with the planned openings.
- Confirm the cabinet width matches your refrigerator.
- Sand exposed edges before adding trim.
Measure diagonally across the frame; matching measurements indicate a square assembly. Test-fit the refrigerator opening and doors now, adjusting the frame while access remains easy.
Don’t add decorative panels until the structure fits correctly.
Anchor Frame Securely
With the frame square and the refrigerator opening confirmed, anchor the cabinet securely to the wall and floor. Locate studs behind the cabinet and mark them at several heights.
Drive cabinet screws through the back rail and shims into each stud, keeping the frame plumb as you tighten. If a stud doesn’t align, add blocking between studs or use approved wall anchors.
Install floor screws through the bottom plate into framing, not just finished flooring. This securing support prevents shifting, vibration, and tipping.
| Connection | Fastener | Check |
|---|---|---|
| Wall studs | Cabinet screws | Plumb |
| Wall blocking | Structural screws | Tight |
| Floor framing | Construction screws | Level |
Don’t crush the cabinet panels with excessive force. Recheck diagonals, opening width, and clearance after you anchor the frame.
Leave ventilation paths clear, and confirm doors and drawers still operate smoothly before installing trim.
Install Refrigerator-Safe Panels and Trim
Install only panels and trim rated for the heat and humidity around a refrigerator. Choose moisture-resistant plywood, finished MDF, or manufacturer-approved cabinet material. Let every piece acclimate indoors, then measure openings carefully before cutting.
During panel installation, leave the clearances specified by your refrigerator’s manual so doors, vents, and service areas remain accessible. Use construction adhesive and appropriate screws, but don’t block ventilation paths or fastener locations.
- Seal exposed wood edges against moisture.
- Match panel thickness to adjacent cabinets.
- Scribe filler panels for a tight, clean fit.
- Use heat-resistant adhesive near warm components.
- Sand cut edges before applying finish.
For trim finishing, cut rails, stiles, and fillers with crisp, square ends. Apply edge banding or durable paint to every exposed edge, including hidden cuts that may encounter condensation.
Attach trim after the panels, keeping seams narrow and consistent. Avoid proud fasteners; countersink them lightly and fill the holes.
Follow the finish manufacturer’s cure time before placing items nearby. Protect finished surfaces with masking paper while you complete surrounding work.
Level, Secure, and Test the Fridge
After the panels and trim are secure, position the refrigerator in the opening and level it according to the manufacturer’s instructions. Adjust the leveling legs or rollers until the cabinet sits stable and the doors align evenly.
Check clearance considerations around the sides, top, rear, and door swing before pushing the unit fully into place. Don’t force it against the cabinet or wall. Restricted airflow can affect performance.
Confirm that the installation meets the refrigerator’s ventilation requirements, including any specified gap above or behind the appliance. Once the position looks right, secure the refrigerator using the supplied brackets or approved hardware.
Fasten it to the cabinet or wall framing, not merely to decorative panels. Recheck that it can’t tip or shift when you open the doors.
Plug in the refrigerator, turn on its water supply if applicable, and verify that it cools, runs quietly, and dispenses water or ice properly. Monitor unusual vibration, leaks, or error messages before completing the installation.
Add Filler Strips and Finish the Cabinet
Once the refrigerator is level and secure, measure the remaining gaps and cut filler strips to fit between the cabinet and wall or appliance. Use matching stock or paint-grade plywood, and cut each strip slightly oversized before trimming for a tight fit.
Attach the filler strips with adhesive and finish nails, driving fasteners where they’ll stay hidden. Keep faces flush with the cabinet frame, then fill nail holes and sand smooth.
For clean cabinet finishing, seal exposed edges before applying primer and paint or matching stain. Mask the refrigerator and nearby surfaces to protect them during finishing.
- Scribe strips against uneven walls for a custom fit.
- Use a sharp blade to prevent chipped edges.
- Match the grain direction on visible pieces.
- Caulk narrow seams after installation.
- Apply thin, even coats and let each coat dry.
Install trim or edge banding over visible plywood edges. Recheck door clearance, remove masking, and wipe away dust before the final coat.
Your finished surround should look integrated, polished, and intentional.
Prevent Common Built-In Fridge Mistakes
A polished finish can’t hide poor planning, so check the surround for common built-in fridge mistakes before calling the project complete. Confirm the cabinet opening matches the manufacturer’s required width, height, depth, ventilation, and clearance dimensions.
Don’t box in the condenser or block air channels. Restricted airflow can overwork the unit, reduce refrigerator energy efficiency, and shorten its life.
Open the doors fully to ensure they won’t strike adjacent cabinets, walls, or handles. Test every drawer and confirm you can remove shelves for cleaning.
Check that the finished floor can support the refrigerator’s weight and that the cabinet remains level after installation. Secure tall panels and trim firmly, but leave service access where the manufacturer recommends it.
Finally, inspect alignment from across the room. Even gaps, flush faces, and coordinated hardware protect your built-in fridge aesthetics.
Run the refrigerator before loading it, listen for unusual noise, and correct rubbing, vibration, or temperature problems immediately.
Frequently Asked Questions
How Much Does It Typically Cost to Build a Built-In Fridge Cabinet?
You’ll typically spend $1,000–$4,000 to build a built-in fridge cabinet, though custom designs can exceed $6,000. Your cost estimation should include cabinetry, trim, ventilation, hardware, labor, and possible electrical adjustments.
Material selection strongly affects pricing: laminate and stock panels cost less, while hardwood, plywood, and custom finishes cost more. If you hire a professional, expect labor to add roughly $500–$2,000.
Measure carefully to avoid expensive revisions or installation problems.
Can I Convert a Freestanding Refrigerator Into a Panel-Ready Model?
Usually, you can’t convert a standard freestanding refrigerator into a true panel-ready model. Its doors, hinges, controls, and cooling system typically lack the structure needed for secure panel customization.
You might attach decorative panels with manufacturer-approved kits, but don’t obstruct vents, hinges, or handles. Check your manual for ventilation requirements and weight limits first.
For a seamless built-in appearance, you’ll usually get better results by purchasing a refrigerator designed for panel installation.
How Long Does a Built-In Refrigerator Cabinet Installation Usually Take?
Time is money, so plan on one to two days for a typical built-in refrigerator cabinet installation. You’ll spend several hours measuring, assembling, leveling, and securing the cabinet, then connecting and positioning the refrigerator.
Complex layouts, electrical changes, plumbing, or custom trim can extend the job to two or three days. Check appliance compatibility first, and allow adequate cabinet ventilation to prevent overheating.
A professional may finish faster, especially with tight clearances.
Should I Hire a Carpenter or Refrigerator Installation Specialist?
Hire a carpenter for cabinet construction, especially when you need precise design considerations, custom dimensions, ventilation, trim, and careful material selection.
Hire a refrigerator installation specialist for appliance delivery, leveling, water-line connections, electrical checks, and manufacturer-specific clearances.
For a truly integrated project, use both professionals or choose a contractor experienced in built-in appliances. Don’t let the carpenter modify sealed refrigeration components, and confirm who handles permits, warranty requirements, and final testing.
How Do I Clean and Maintain the Finished Refrigerator Cabinet?
Clean your refrigerator cabinet with a soft, damp microfiber cloth and mild dish soap, then dry every surface promptly. Avoid abrasive cleaners, excessive water, and steam, which can damage the finish or seep into joints.
Inspect the Cabinet paint regularly for chips, stains, or peeling, and touch up damage quickly. Check the Sealant application around seams and edges annually, replacing cracked sealant to prevent moisture intrusion.
Keep vents clear and wipe spills immediately.
Conclusion
With the cabinet finished, your refrigerator should look like it was always meant to be there. Before you celebrate, open both doors, check the ventilation, and confirm the fridge runs quietly without rubbing or overheating.
A small gap you noticed earlier may now reveal an easy adjustment. Luckily, you’ve caught it before adding groceries. Secure the trim, clean the surfaces, and enjoy your new built-in fridge cabinet.
You’ve created a polished upgrade that works beautifully and fits your kitchen.