How to Install Kitchen Cabinets in 7 Simple Steps
How to Install Kitchen Cabinets? If you’ve ever tried installing kitchen cabinets, you know it’s not as simple as it looks. Many people struggle with getting everything level, secure, and perfectly aligned. You’re not alone—finding the right process can feel overwhelming, especially if you want a professional finish without hiring a pro.
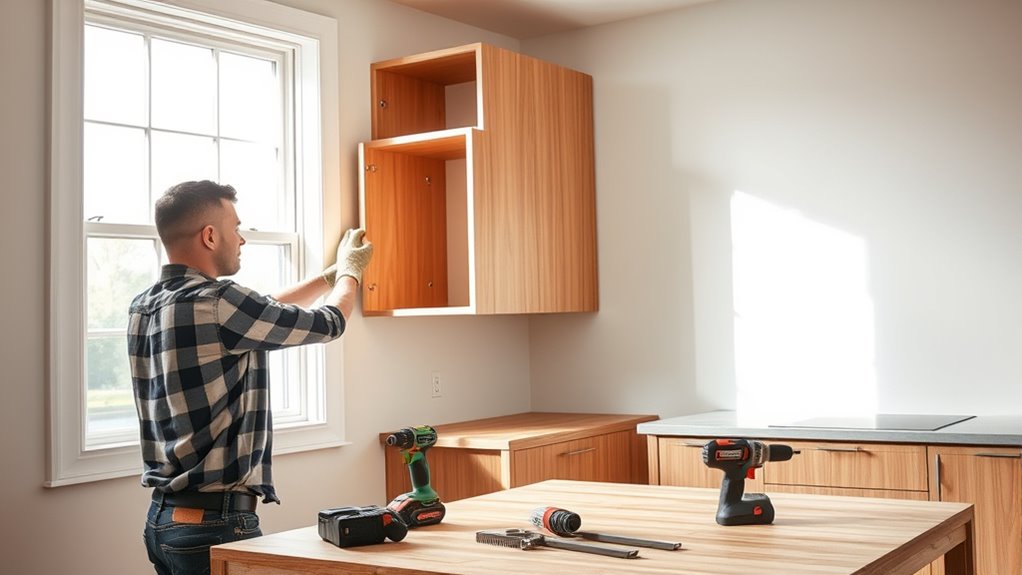
To install kitchen cabinets in seven simple steps, first gather all essential tools like a drill, level, and stud finder. Locate and mark wall studs carefully to guarantee secure mounting. Measure and mark cabinet placement precisely on the walls.
Start by installing upper cabinets using a ledger board for support. Next, attach and level base cabinets, shimming as needed. Join cabinets tightly and align doors properly.
Finally, install trim and hardware for a polished look.
Keep following for detailed tips to achieve a flawless and professional finish.
How to Install Kitchen Cabinets Key Takeaways
- Locate and mark wall studs to ensure cabinet support. Then, draw horizontal guidelines for precise placement.
- Use a ledger board to temporarily support upper cabinets. Level each cabinet during installation for accuracy.
- Clamp cabinets together and secure them with screws. Adjust the hinges to align doors evenly for a seamless look.
- Shim base cabinets to level them on uneven floors. Once aligned, secure the cabinets firmly in place.
- Attach trim and hardware carefully. Pre-drill holes to ensure durability and a polished finish.
Gather Essential Tools for Kitchen Cabinet Installation
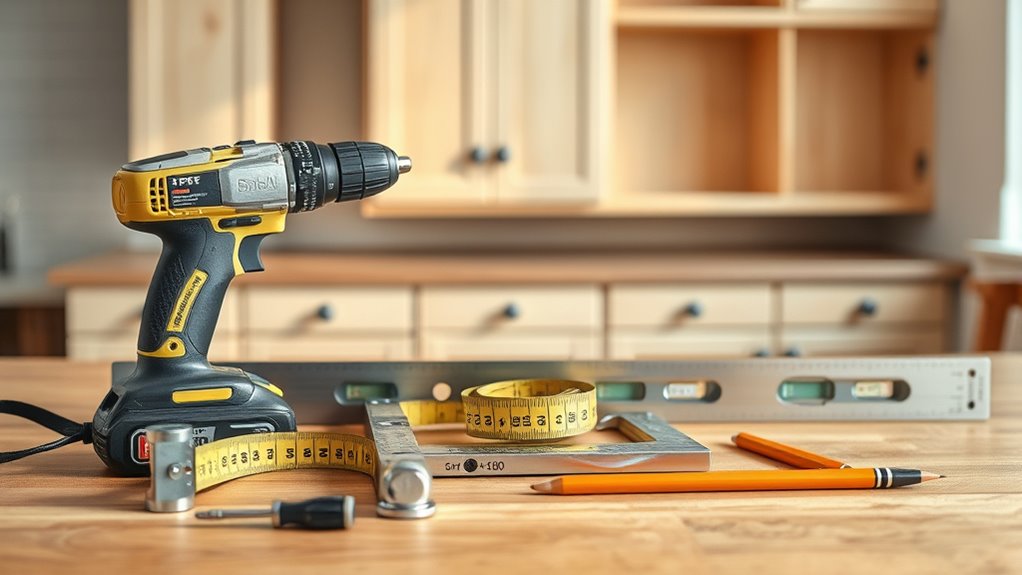
Before you begin installing your kitchen cabinets, you’ll need to gather the essential tools to guarantee a smooth process. Start with a cordless drill, a level, a tape measure, and a stud finder. These basics ensure you can measure accurately and mount your cabinets securely.
Since cabinet color and cabinet materials vary, bring sandpaper and paint or stain for touch-ups. Different materials like wood, MDF, or laminate may require specific drill bits or screws, so check what’s best for your cabinets.
You’ll also want clamps to hold pieces steady and a pencil for marking measurements clearly. Having a helper or a sturdy step stool can make handling larger cabinets safer.
Organizing these tools before you start cuts down on interruptions and helps you focus on fitting your cabinets perfectly. Being prepared with the right tools means your kitchen cabinet installation will go as smoothly as possible.
Locate and Mark Wall Studs for Secure Mounting
To mount your kitchen cabinets securely, you’ll want to start by locating the wall studs with a stud finder. Once you find each stud, make sure to mark its location clearly. This way, you’ll keep your installation aligned and stable.
Using a Stud Finder
Although mounting kitchen cabinets securely is essential, you can’t rely on drywall alone to hold their weight. That’s why using a stud finder is vital. You’ll pinpoint the exact location of wall studs, guaranteeing a strong, stable mount.
Start by performing a stud finder calibration on your wall to get accurate readings. Different stud finder models require different calibration methods, so follow the instructions carefully. Once calibrated, scan the wall slowly to detect the edges of the studs.
Keep in mind that wall stud types vary. Most homes have vertical wooden or metal studs spaced 16 or 24 inches apart. Identifying these correctly helps you avoid weak spots and ensures your cabinets hang securely.
Mastering this step sets the foundation for a safe, professional installation.
Marking Stud Locations
Where exactly are your wall studs located? Marking stud locations is vital for mounting your kitchen cabinets securely. Use a pencil to clearly mark each stud you find with your stud finder. This guarantees your cabinet material will have strong support, preventing damage during installation or over time.
Here’s how to mark your studs effectively:
- Mark every stud edge to align cabinet sides properly.
- Check spacing to match cabinet width and finishing techniques.
- Use a level to draw a horizontal guideline across studs.
- Double-check measurements before drilling or screwing in.
These steps help keep cabinets stable and protect your finishing techniques from damage. Accurate stud marking supports the weight of your cabinets and guarantees a professional, long-lasting installation.
Ensuring Accurate Alignment
Since your cabinets will only be as secure as the wall studs they’re anchored to, you need to guarantee your markings are perfectly aligned before installation. Start by using a stud finder to locate each stud along the wall, then mark their centers clearly with a pencil at cabinet height.
Double-check your measurements to confirm your decorative accents and cabinet finishes will align seamlessly with these points. Accurate alignment prevents shifting and keeps your cabinets level, preserving the aesthetic integrity of your kitchen.
When you mount the cabinets, fastening directly into these studs ensures a solid hold that supports the weight of your cabinetry and the items inside. Taking the time to locate and mark these studs precisely makes all the difference in a professional, long-lasting installation.
Measure and Mark Kitchen Cabinet Placement on Walls
Now that you’ve found the studs, the next step is to measure the walls accurately so you can plan your cabinet layout. Be sure to mark the exact spots where each cabinet will go. This way, everything will line up just right. Taking the time to mark carefully will make the installation go more smoothly and help keep your cabinets perfectly level.
Accurate Wall Measurements
How do you guarantee your kitchen cabinets fit perfectly on your walls? Accurate wall measurements are essential for a flawless installation.
Before you start, gather these key tools and tips:
- Use a reliable tape measure for exact dimensions.
- Note wall irregularities that may affect cabinet finishes.
- Record measurements at multiple heights to accommodate decorative accents.
- Double-check all numbers before proceeding.
Carefully measuring ensures your cabinets align well with your kitchen’s layout and design elements. Precise measurements help prevent gaps or misalignments that could ruin the look of your decorative accents or cabinet finishes.
Taking the time now saves you from costly adjustments later and sets a solid foundation for a smooth installation process.
Marking Cabinet Positions
Before you hang any cabinets, you’ll want to mark their exact positions on the walls to guarantee a seamless fit. Start by measuring from floor to ceiling and use a level to draw a horizontal guideline where the bottom of your base cabinets will sit.
Next, mark the upper cabinet positions, considering the cabinet material’s thickness and ensuring proper color coordination with your kitchen design. Use a pencil to outline each cabinet’s edges, double-checking measurements to avoid errors.
| Cabinet Type | Wall Height (inches) | Notes |
|---|---|---|
| Base Cabinets | 34.5 | Includes countertop |
| Upper Cabinets | 54 | Standard clearance |
| Pantry | 84 | Full height |
| Corner Units | Varies | Check material depth |
Install the Upper Kitchen Cabinets First
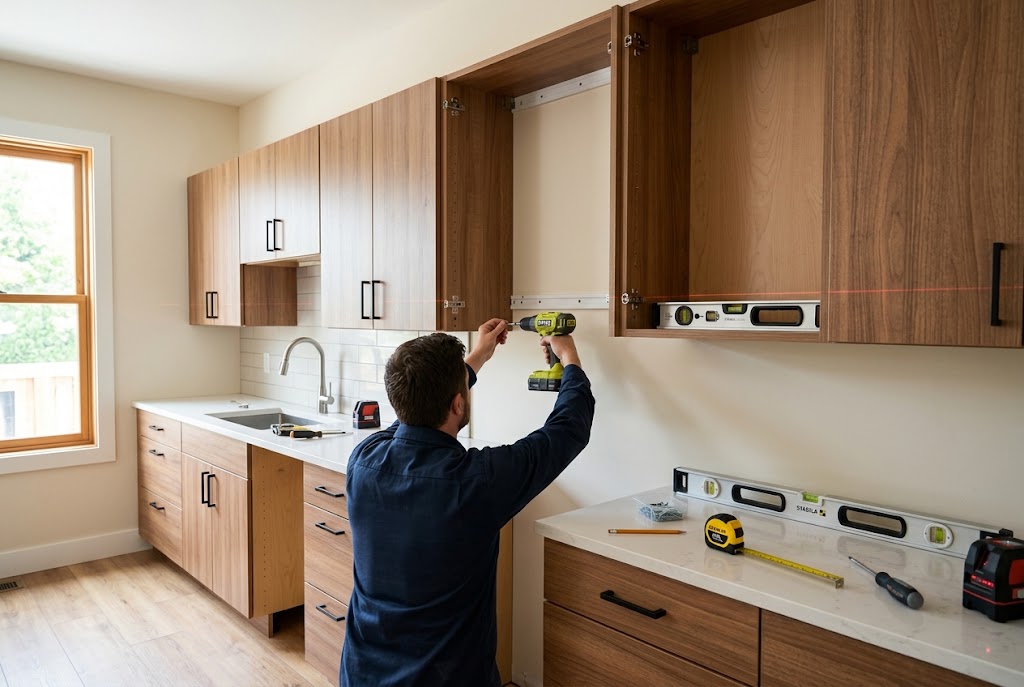
Although installing upper kitchen cabinets can seem challenging, starting with them sets a strong foundation for the rest of your project. You’ll gain better control over alignment and height, which simplifies placing the base cabinets later. Begin by locating and marking the studs to guarantee secure attachment.
Starting with upper cabinets ensures proper alignment and height, making the entire kitchen installation smoother and more secure.
Keep these tips in mind:
- Use a ledger board to support the cabinets during installation.
- Check that cabinet door styles complement your kitchen design before mounting.
- Make certain all cabinet finishing is complete or planned for after installation.
- Level each cabinet as you go to maintain a consistent line.
Installing upper cabinets first also helps you avoid working over base cabinets, reducing the risk of damage. Pay close attention to precise measurements; this step impacts the overall look and function. Taking the time to get your upper cabinets just right means your kitchen will look polished and professional once you’re done.
Attach and Level the Base Cabinets
Once you’ve secured the upper cabinets, you can move on to attaching and leveling the base cabinets. Start by positioning each cabinet according to your layout. Use shims to adjust for uneven floors, guaranteeing the cabinets are level and plumb.
Different cabinet materials like plywood or MDF may require specific screws or anchors, so check your cabinet materials before fastening. Always wear safety goggles and gloves to protect yourself from potential splinters or sharp edges.
Here’s a quick guide to help you attach and level base cabinets:
| Step | Tip |
|---|---|
| Position cabinet | Follow your floor plan precisely |
| Shim base | Use wood or plastic shims for leveling |
| Secure cabinets | Use proper screws for cabinet materials |
| Check level | Use a spirit level horizontally & vertically |
| Safety precautions | Wear goggles, gloves, and work carefully |
Taking these steps guarantees a safe and sturdy base cabinet installation.
Join Cabinets and Align Cabinet Doors
After securing and leveling your base cabinets, you’ll want to join them tightly and guarantee the doors align properly. This step is essential for a polished look and smooth operation. Start by clamping the cabinets together at their adjoining edges, ensuring the cabinet material doesn’t get damaged. Use screws through the cabinet frames to firmly connect them, checking that the cabinet design lines up perfectly.
To align the cabinet doors, follow these tips:
- Adjust hinges gradually to level doors vertically and horizontally.
- Use a spacer block between cabinets to maintain consistent gaps.
- Check door alignment from different angles to catch any misalignment.
- Tighten all screws once doors sit flush and gaps are even.
Install Trim and Cabinet Hardware
Before you finish your kitchen cabinets, install the trim and hardware to improve both their appearance and functionality. Start by attaching the decorative trim around the edges of your cabinets to create a polished, seamless look. Use a miter saw for precise cuts and secure the trim with finishing nails or adhesive, depending on your cabinet material.
Next, move on to the cabinet hardware. Choose knobs or pulls that complement your kitchen’s style and make sure they align properly on each door and drawer. Measure carefully to maintain consistency and pre-drill holes to avoid splitting the wood.
Attach the hardware securely with screws, tightening them just enough to avoid stripping. Installing both decorative trim and cabinet hardware not only enhances the visual appeal of your cabinets but also improves usability, making your kitchen look professionally finished.
Take your time during this step, as the right trim and hardware boost your overall kitchen design.
Frequently Asked Questions
What Cabinet Styles Are Best for Small Kitchens?
For small kitchens, you’ll want cabinet styles that maximize space and light. Shaker and flat-panel cabinets work great because they’re sleek and don’t overwhelm the room.
Choose lighter cabinet color options like whites or pastels to make your kitchen feel bigger. Adding decorative cabinet hardware can give personality without crowding the space.
You’ll find that simple, clean-lined cabinets with subtle, stylish hardware keep your small kitchen functional and inviting.
How Do I Choose the Right Cabinet Material?
You choose the right cabinet material by comparing durability and style. Solid wood offers excellent cabinet durability but costs more, while plywood balances strength and affordability.
MDF is budget-friendly but less durable. Consider how much wear your cabinets will face and pick a material matching your lifestyle and budget. Don’t forget to weigh moisture resistance and maintenance too.
A careful material comparison guarantees your cabinets last and look great.
Can I Install Kitchen Cabinets Without a Stud Finder?
Yes, you can install kitchen cabinets without a stud finder by carefully tapping the wall to listen for solid spots or using a small nail to locate studs. Just make sure you have the right installation tools and secure your cabinet hardware tightly to those studs for stability.
This method takes patience but works well if you’re cautious. Remember, proper support is key to a safe and sturdy cabinet installation.
How Do I Protect Cabinets From Moisture Damage?
Think of your cabinets as a fortress guarding your kitchen’s treasures. To keep moisture at bay, apply moisture-resistant finishes like sealants or waterproof paint. They act as your fortress walls.
Improve ventilation by installing vents or using exhaust fans, allowing damp air to escape. These steps prevent warping and mold, ensuring your cabinets stay strong and beautiful.
You’ll protect your investment and enjoy a fresh, dry kitchen environment every day.
What Is the Average Cost of Kitchen Cabinet Installation?
You can expect to pay between $150 and $500 per cabinet for installation, depending on complexity and location. Adding cabinet hardware and cabinet lighting will increase costs but improve functionality and style.
If you want soft-close hinges or LED lighting, factor those into your budget. Labor rates vary, so get multiple quotes to guarantee you’re getting a fair price. Planning ahead helps you avoid surprises and keeps your kitchen upgrade on track.
Conclusion
Installing kitchen cabinets might seem tricky, but following these 7 simple steps makes it manageable. Did you know that properly installed cabinets can boost your kitchen’s value by up to 10%?
By gathering your tools, securing studs, and carefully leveling each cabinet, you’re setting yourself up for success. Remember, taking your time with alignment and hardware guarantees a polished finish.
With patience and precision, you’ll have a beautiful, functional kitchen in no time. Installing kitchen cabinets correctly is the key to achieving that perfect look and lasting quality.