
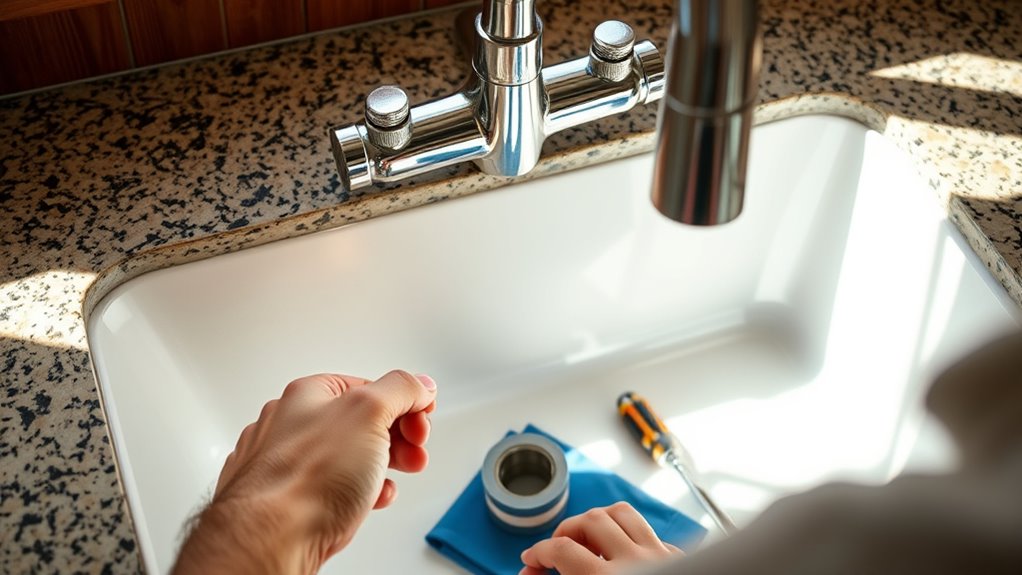
How To Replace Kitchen Faucet in 7 Easy Steps
How To Replace Kitchen Faucet? Replacing a kitchen faucet can feel overwhelming, and if you’ve ever dealt with leaks or a clunky handle, you’re not alone. Many people struggle with finding the right faucet and figuring out how to install it properly.
Luckily, with the right guidance, you can tackle this common home improvement task confidently and enjoy a fresh, fully functional kitchen faucet in no time.
To replace your kitchen faucet in 7 easy steps, first gather your tools and turn off the water supply under the sink.
Clear the area, then carefully remove the old faucet and clean the mounting surface.
Next, install the new faucet, connect the water lines securely, and check for leaks.
Finally, test the faucet’s function and make any necessary adjustments.
Follow these steps, and you’ll have a smoothly working faucet in no time with helpful tips ahead.
How To Replace Kitchen Faucet Key Takeaways
- Turn off water supply valves and clear the under-sink area before removing the old faucet.
- Disconnect supply lines using an adjustable wrench. Place a bucket underneath to catch any water spills.
- Clean the mounting area by removing old putty and debris. This helps ensure a secure fit for the new faucet.
- Position and secure the new faucet, then connect the supply lines. Be careful not to overtighten to prevent leaks.
- Gradually turn on the water, test the faucet function, check for leaks, and make any final adjustments as needed.
Get Your Tools and Materials Ready for Your Kitchen Faucet
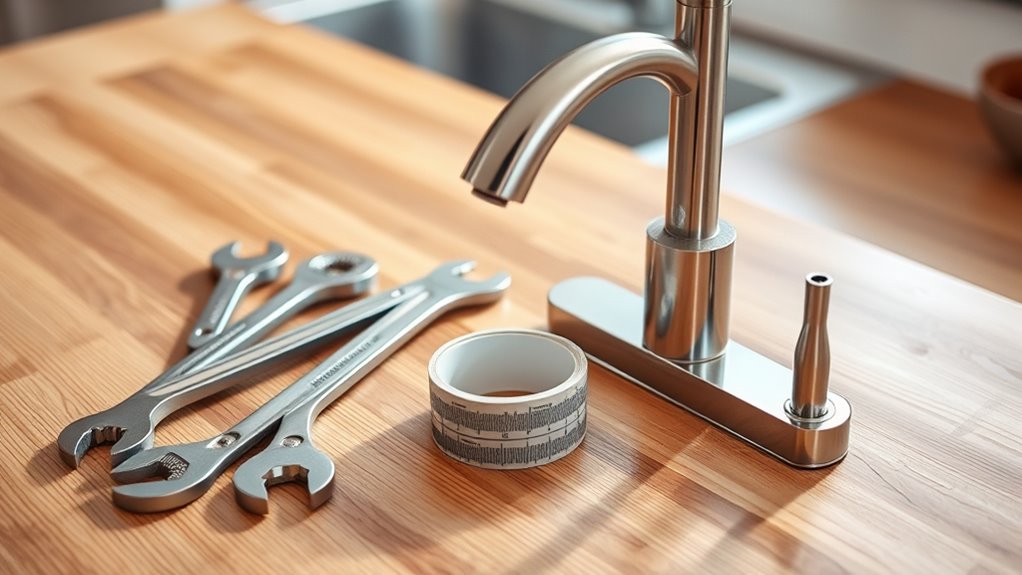
Before you begin replacing your kitchen faucet, gather all the necessary tools and materials to avoid interruptions. Start by choosing the right faucet style that fits your sink and complements your kitchen’s design. Whether you prefer a single-handle pull-down or a traditional two-handle faucet, make sure it offers the water flow you need for everyday tasks.
Next, collect essential tools like an adjustable wrench, basin wrench, plumber’s tape, and a bucket to catch any residual water. You’ll also need a screwdriver, cleaning cloth, and possibly a flashlight for tight spaces under the sink. Confirm that your new faucet’s connections match your existing plumbing to prevent compatibility issues.
Turn Off the Water and Prep Your Kitchen Sink
First, locate the water shutoff valves under your sink and turn them off to stop the water flow. Then, clear out everything from the cabinet below to give yourself enough room to work. After that, gather the tools you’ll need to make the replacement process go smoothly and efficiently.
Locate Water Shutoff Valves
Although it might seem simple, locating the water shutoff valves is essential to avoid flooding while replacing your kitchen faucet. Start by checking under your sink for two small valves, one for hot water and one for cold.
If you don’t see them there, use a utility location app or call your local utility company to help find the main shutoff valve for your kitchen. Make sure the valves you identify have easy accessibility; you’ll need to turn them off completely before starting any work.
If the valves are hard to reach or stuck, consider using pliers or contacting a professional. Confirm the water is off by turning on the faucet until the flow stops before moving on to the next step.
Clear Under-Sink Area
Once you’ve turned off the water, clear the area under your sink to create a safe, accessible workspace. Remove any cleaning supplies, trash bins, or other items that might block your access or cause clutter.
Good under sink organization not only makes your job easier but also helps prevent accidents. With everything out of the way, inspect the plumbing for leaks or damage, ensuring plumbing safety before you begin.
Clear space reduces the risk of knocking over containers or damaging pipes during the faucet replacement. Keep a towel or small bucket nearby to catch any residual water that might spill when disconnecting pipes.
Taking these simple steps sets you up for a smooth, safe faucet installation without unnecessary hassle or risk.
Gather Necessary Tools
With your workspace cleared and plumbing inspected, you’re ready to gather the tools needed for the job. First, turn off the water supply valves under the sink to stop water flow and reduce water pressure. This step is vital for safe faucet maintenance and prevents leaks while you work.
Next, grab an adjustable wrench, basin wrench, plumber’s tape, and a bucket to catch any residual water. Having a flashlight handy can help you see in tight spaces. Also, keep a towel nearby for quick cleanups.
Proper preparation with the right tools ensures a smooth, hassle-free faucet replacement. Once everything’s set, you’ll be ready to remove the old faucet and install the new one efficiently and safely.
Take Out the Old Faucet Safely
Now that you’ve turned off the water supply, go ahead and clear out the space under your sink. This will give you plenty of room to work without feeling cramped. Next, carefully disconnect the water lines—doing this slowly helps prevent any leaks or spills. By following these steps, you’ll be able to remove the old faucet safely and without any hassle.
Turn Off Water Supply
Before you remove the old faucet, make sure to turn off the water supply to prevent any leaks or water damage. Locate the shut-off valves under the sink, usually connected to the hot and cold water lines. Turn them clockwise until they’re fully closed.
If you can’t find these valves or they don’t work properly, shut off the main water supply for your home. Be aware that different pipe materials, like copper or PVC, might affect how valves respond, so handle them gently to avoid damage.
Once closed, open the faucet to release any remaining water and relieve water pressure in the pipes. This step guarantees no water spurts out when you disconnect the old faucet, keeping your workspace dry and safe.
Clear Under-Sink Area
Once the water supply is securely shut off, clear the area under your sink to give yourself enough room to work comfortably. Remove all items stored there, including cleaning supplies or bins, to avoid accidental spills or damage.
Good under sink organization not only helps you access plumbing fixtures easily but also prevents tripping over clutter during plumbing maintenance. Take a moment to inspect the space for leaks or corrosion before proceeding.
This step guarantees you can safely reach and remove the old faucet without obstruction. Keeping this area tidy also makes future repairs and replacements simpler.
Disconnect Water Lines
With the area under your sink cleared and inspected, you can focus on disconnecting the water lines to remove the old faucet safely. First, turn off the water supply valves to stop water flow and relieve water pressure by opening the faucet briefly.
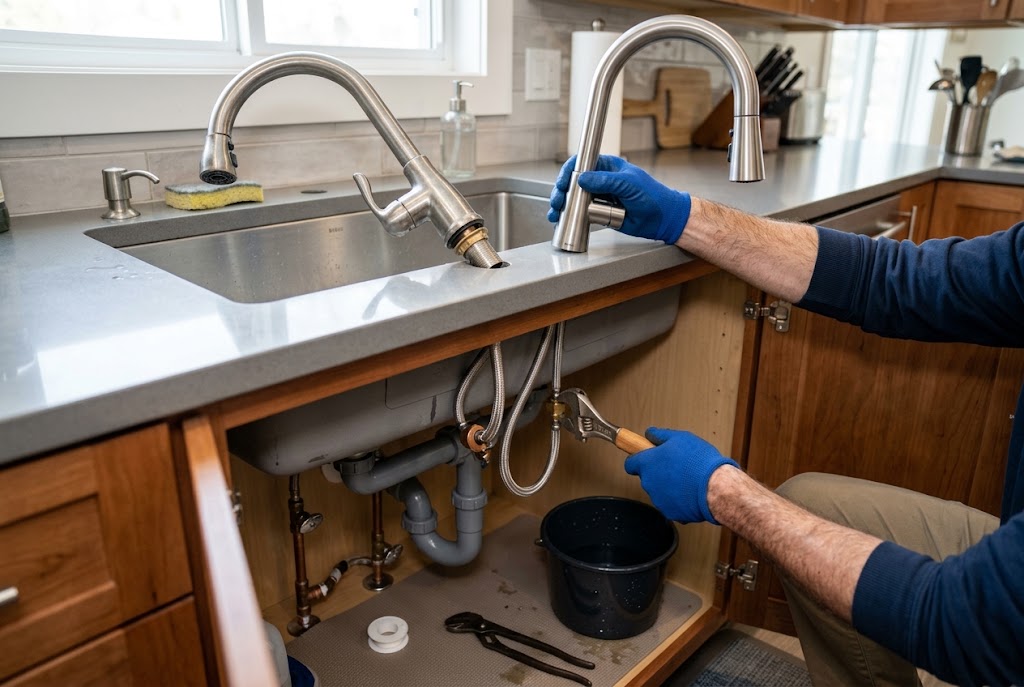
Next, use an adjustable wrench to loosen the nuts connecting the supply lines to the faucet. Be prepared for some residual water to drip out. Carefully disconnect both hot and cold supply lines, keeping a bucket nearby to catch any spills.
Once the supply lines are detached, check for any leaks or corrosion that may need attention before installing the new faucet. Disconnecting the water lines properly guarantees a smooth removal, preventing damage and water mess during your kitchen faucet replacement.
Clean the Faucet Mounting Area Before Installing
Although it might seem like a small detail, cleaning the faucet mounting area guarantees a secure and leak-free installation. Before you install your new kitchen faucet, take the time to prepare the surface properly.
A clean faucet mounting area ensures the new faucet sits flush and seals correctly, preventing water damage or leaks.
Follow these steps for an effective cleaning surface:
- Remove any old putty, caulk, or debris around the faucet mounting hole using a putty knife or scraper.
- Wipe the area with a damp cloth and mild detergent to eliminate grease and dirt.
- Dry the surface thoroughly with a clean towel to ensure no moisture remains.
Put in Your New Kitchen Faucet
Before you secure your new kitchen faucet in place, make sure all the parts are ready and accessible. Position the faucet over the mounting holes, aligning it carefully to avoid damage or misplacement.
Once aligned, insert the mounting hardware from underneath the sink and tighten it securely to hold the faucet steady. Don’t overtighten to prevent cracking the sink or faucet base. Proper installation helps guarantee stable water pressure and reduces the risk of leaks, which is essential for effective faucet maintenance.
Double-check that the faucet sits flush and doesn’t wobble before moving forward. Taking time now to properly position and secure your faucet saves you from complications later. This step lays the foundation for a smooth water flow and reliable performance, ultimately making your faucet maintenance easier in the long run.
Now your new kitchen faucet is set and ready for the next step.
Hook Up the Water Lines and Check for Leaks
Once you’ve secured your new faucet, connect the water supply lines to the corresponding hot and cold valves beneath the sink. Make sure each line is attached tightly to prevent leaks and ensure proper water flow. Follow these steps:
Securely connect water supply lines to hot and cold valves to prevent leaks and ensure proper flow.
- Check for pipe corrosion: Inspect the valves and supply lines for any signs of corrosion. Replace any damaged parts to avoid future leaks.
- Attach supply lines: Use an adjustable wrench to connect the water lines securely. Avoid overtightening, which can damage fittings and cause leaks.
- Turn on the water supply: Slowly open the valves and monitor the connections for leaks. Watch the water pressure carefully. Too high pressure may stress the fittings.
Test Your Faucet and Make Final Tweaks
After connecting your water lines and ensuring there are no leaks, turn on your faucet to test its functionality. Check both hot and cold water to confirm proper flow and consistent water pressure. If you notice any irregularities, like weak water pressure or dripping, tighten connections or adjust the valves under the sink.
Make sure the faucet handle moves smoothly without resistance. Pay attention to how the water sprays and flows; this is vital for ongoing faucet maintenance. A steady, strong stream indicates everything is in order.
If the water pressure is too high, consider adjusting it to avoid wear on your new faucet. Also, verify that the faucet swivels and retracts (if applicable) easily and that the aerator is securely attached.
Once satisfied, clean the area and your new faucet. Regular faucet maintenance, including periodic checks of water pressure and leaks, will extend its lifespan and keep your kitchen running smoothly.
Frequently Asked Questions
What Type of Faucet Is Best for a Hard Water Area?
You’ll want a faucet made from materials that resist mineral buildup, like stainless steel or brass, in hard water areas. Faucets with ceramic disc valves work best because they handle water softening treatments without wearing out quickly.
You should also consider models with easy-to-clean aerators to combat mineral deposits. This way, you’ll reduce clogs and maintain smooth water flow despite hard water’s challenges.
Can I Replace a Kitchen Faucet Without Shutting off the Main Water Supply?
You can’t dance in the rain without getting wet, and likewise, you shouldn’t replace a kitchen faucet without shutting off the main water supply. For plumbing safety, turning off the water prevents unexpected bursts and controls water pressure that could flood your space.
Instead, locate and close the shutoff valves under your sink. This keeps water contained and your project leak-free. It’s a small step that saves you from a big mess.
How Do I Choose a Faucet That Matches My Kitchen Decor?
You’ll want to focus on decor matching by considering your kitchen’s overall color scheme and materials. Look for faucets that complement your countertops, cabinets, and backsplash.
Style coordination is key. Choose a faucet style that fits your kitchen’s vibe, whether modern, rustic, or traditional.
Don’t forget to match finishes like brushed nickel or matte black to keep everything cohesive. This way, your new faucet will blend seamlessly into your kitchen’s design.
Are There Eco-Friendly Faucets That Save Water?
Absolutely, you can turn your kitchen into a green oasis with eco-friendly faucets that save water. These faucets, crafted from eco-friendly materials, act like guardians of every drop, reducing waste without sacrificing performance.
Water-saving features like aerators and flow restrictors help you sip less and save more, making your kitchen both stylish and sustainable. Choosing one means you’re not just upgrading your space; you’re nurturing the planet with every turn of the tap.
How Long Does a Typical Kitchen Faucet Last Before Needing Replacement?
A typical kitchen faucet lifespan ranges from 15 to 20 years, depending on usage and water quality. You’ll usually notice signs like leaks or corrosion signaling it’s time for a replacement.
Keeping an eye on your faucet’s condition helps you stick to a proper replacement timeline, preventing unexpected issues. Regular maintenance can extend its life, but when performance drops or repairs become frequent, it’s smart to plan for a new faucet.
Conclusion
Now that you’ve swapped out your old faucet for a shiny new one, you’re ready to enjoy a kitchen that works as smoothly as a well-oiled Victorian clock. Remember, a little patience and care go a long way in any project.
You’ve tackled this upgrade like a pro, so take a step back, admire your handiwork, and relish the satisfying flow of fresh water in your revitalized sink. Cheers to modern convenience with a touch of timeless elegance and your new kitchen faucet!