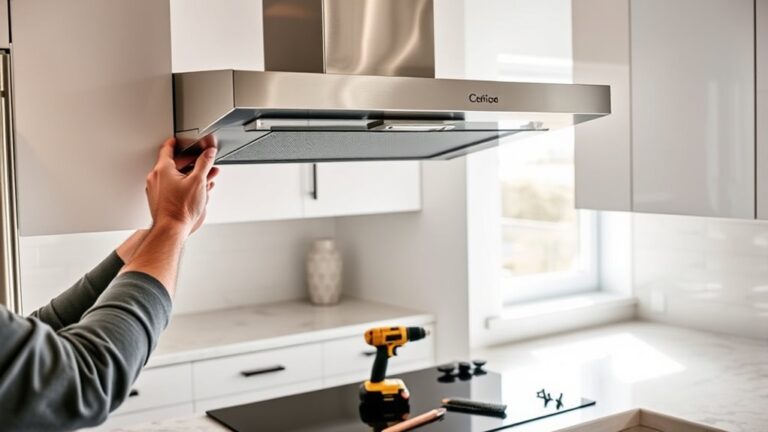
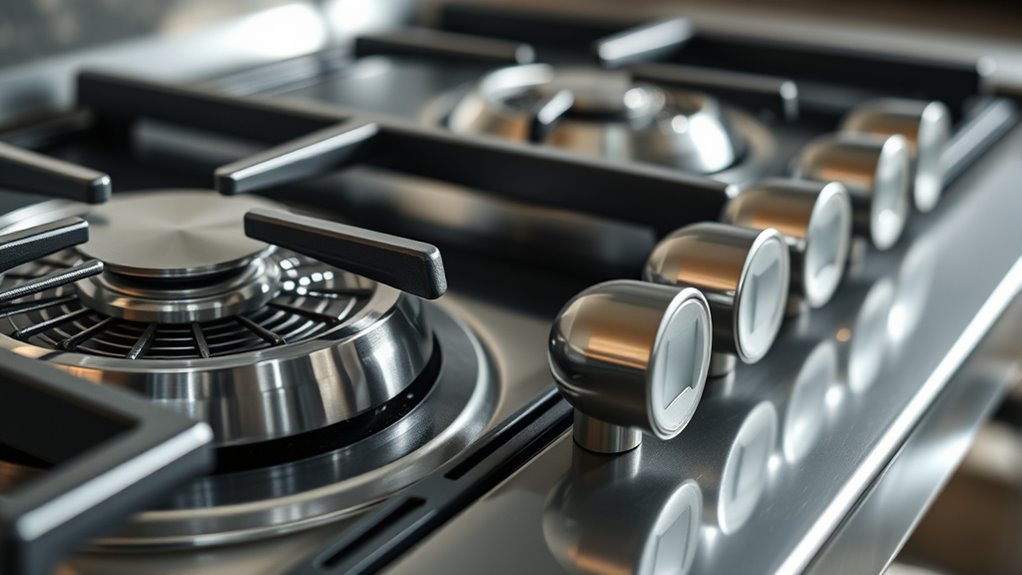
What Are the Main Stove Parts?
If you’re unsure which stove components matter most when choosing replacement parts, you’re not alone. Many people struggle to identify the right pieces for safe, reliable cooking. Understanding the main stove parts can make shopping and maintenance much easier.
Your stove’s main parts include the cooktop, burners or heating elements, control knobs, grates, drip pans, oven cavity, racks, door, gasket, and thermostat. Burners or elements produce heat, while knobs regulate temperature and grates support cookware.
Drip pans catch spills, and the oven’s racks hold dishes at different heights. The door and gasket retain heat for efficient cooking.
Regular cleaning and timely replacement of damaged parts help keep your stove safe, reliable, and efficient. More details follow below.
Key Takeaways
- Cooktop: Includes burners or heating elements, control knobs, grates, and drip pans for cooking and spill protection.
- Oven compartment: Contains bake and broil elements, racks, insulation, and a thermostat for controlled cooking.
- Oven door: Consists of the handle, hinges, glass panels, and sealing gasket to retain heat safely.
- Controls and electronics: Include knobs, switches, timers, displays, ignition systems, and control boards.
- Supporting components: Include gas valves, wiring, vents, filters, burner caps, and internal safety systems.
What Are the Main Stove Parts?
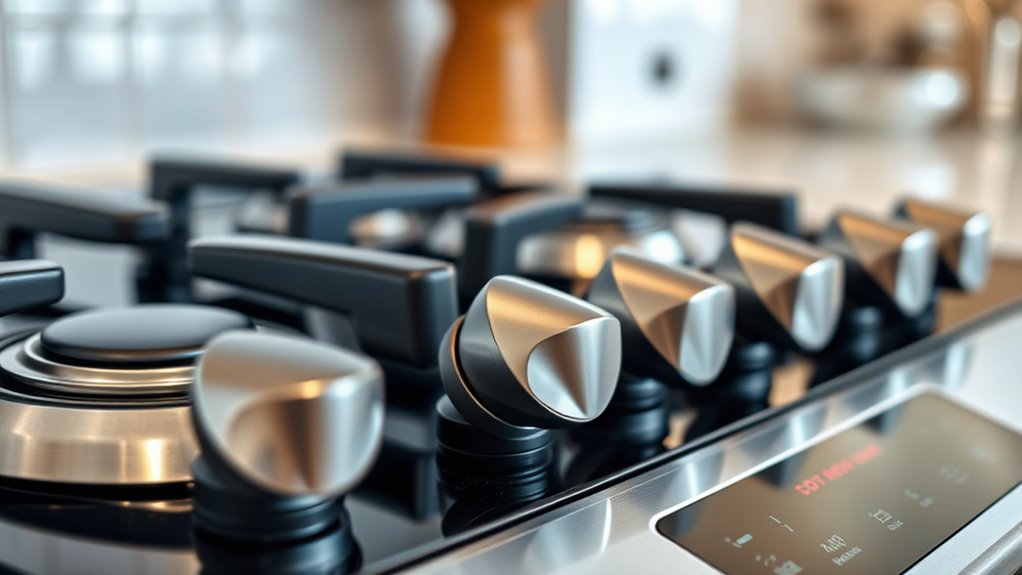
A stove’s main parts work together to produce, control, and distribute heat for cooking. As you use your stove, you’ll interact with the cooktop, burners or heating elements, control knobs, and grates or smooth glass surface. These components support cookware and let you adjust temperature precisely.
Inside the appliance, insulation helps retain heat, while the frame and panels protect internal components. Many models also include an oven compartment, racks, a door, a gasket, and a thermostat.
Insulation retains heat, while the frame, panels, oven compartment, racks, door, gasket, and thermostat support safe, efficient operation.
The thermostat monitors oven temperature, and the controls help you select cooking settings. Some electric and smart stoves add digital displays, timers, indicator lights, or touch controls.
You should keep each part clean and inspect it regularly. Clear knobs and intact surfaces improve Stove safety, while properly maintained seals and controls support energy efficiency.
Knowing these parts helps you operate your appliance confidently, recognize wear early, and choose the right replacement when a component needs service. Always follow your manufacturer’s instructions for cleaning and repairs.
How Do Stove Burners Produce Heat?
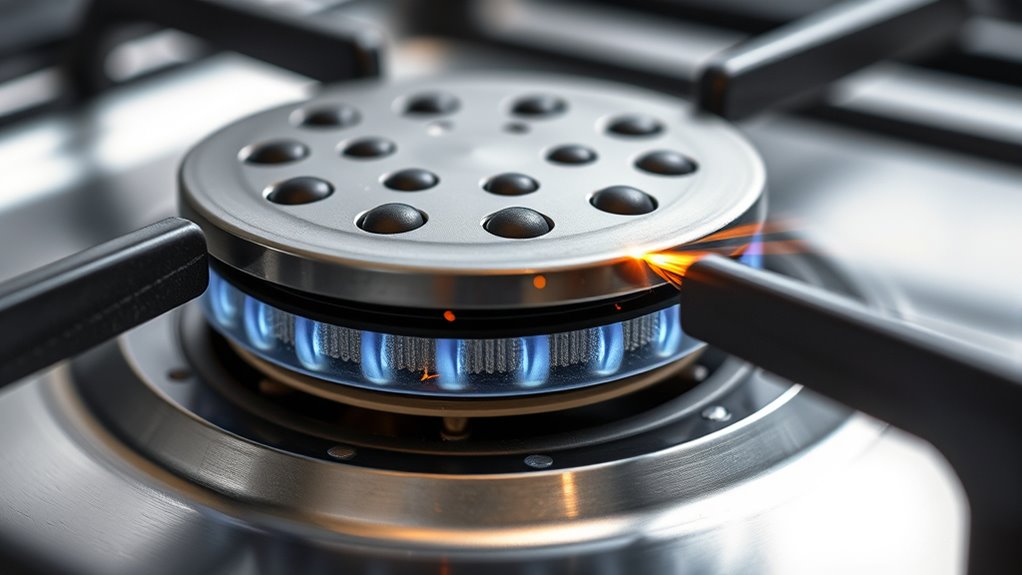
Gas burners produce heat through controlled flames that warm your cookware directly. Electric heating elements, on the other hand, convert electricity into heat and transfer it through direct contact or radiant energy. Knowing how these methods work can help you choose the right settings for more efficient cooking.
Gas Burner Flames
Gas burner flames produce heat by burning a controlled mixture of fuel and air. When you turn the control knob, gas flow travels through the valve and into the burner.
Small openings around the burner distribute the fuel, while air mixes with it to support combustion. An igniter starts the flame, which then spreads around the burner ports.
The heat from this flame transfers directly to your cookware, helping you boil, simmer, or fry food.
You can adjust the heat by changing the gas flow: more fuel creates a larger flame, while less fuel produces a smaller one.
Watch the flame color, too. A steady blue flame usually indicates efficient burning.
Yellow, orange, or uneven flames may signal blocked ports, insufficient air, or a burner that needs cleaning.
Electric Heating Elements
Electric heating elements produce heat when electrical current passes through a high-resistance metal coil or radiant strip. As electricity meets resistance, it converts electrical energy into heat.
You control that process with the stove’s switches or digital settings, which regulate how much current reaches the element. Traditional coil burners glow red as they warm, while smooth-top radiant elements heat beneath a glass-ceramic surface.
Some models use sensors to cycle power on and off, maintaining your selected setting without continuous operation.
For cooking safety, keep flammable items away, use flat-bottomed cookware, and avoid touching an element after you turn it off; it can remain hot.
You’ll improve energy efficiency by matching pan size to the element, covering cookware, and selecting the lowest setting that meets your needs.
Heat Transfer Methods
Stove burners produce heat through conduction, convection, radiation, or a combination of these methods. When you place a pan on an electric element, conduction moves heat directly into the cookware.
Gas flames also transfer heat by conduction and radiation, while convection circulates warmth through the pan’s contents. Induction uses magnetic energy to heat compatible cookware directly, improving fuel efficiency because less heat escapes.
| Method | How It Works | Best Example |
|---|---|---|
| Conduction | Heat moves through contact | Electric element |
| Convection | Hot liquid or air circulates | Simmering soup |
| Radiation | Energy travels as waves | Gas flame |
You’ll cook more evenly when you match the pan size to the burner and keep the base flat. Modern safety features, such as automatic shutoff, flame monitoring, and overheating protection, help prevent accidents.
Understanding heat transfer lets you adjust temperatures confidently and use each burner efficiently.
What Do Burner Caps and Grates Do?
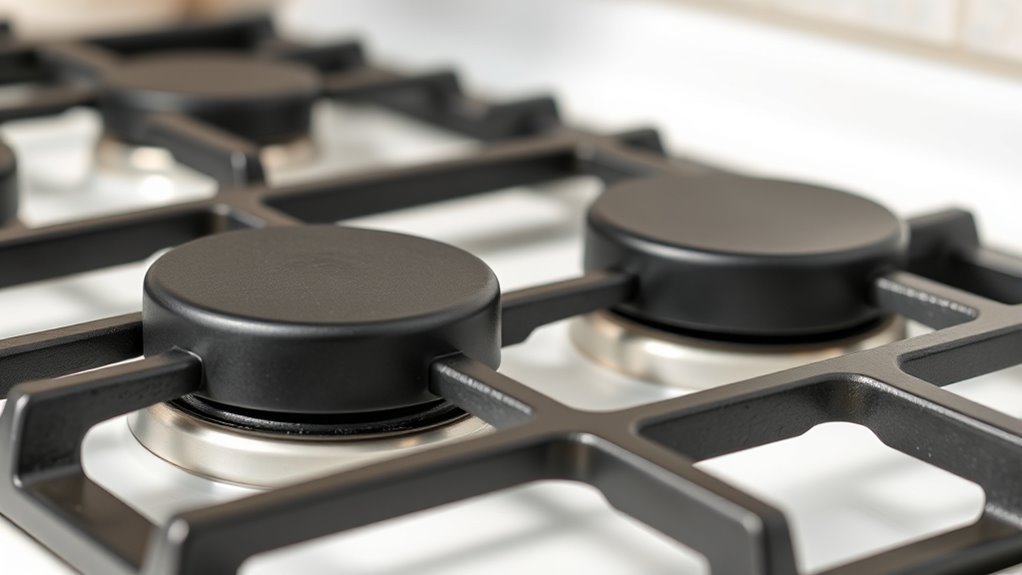
Burner caps help spread the flame evenly, so your food cooks more consistently. Grates support your cookware and keep it stable over the burners. Together, they make your stove safer and more efficient to use.
Burner Cap Functions
Designed to sit over each gas flame, burner caps spread heat evenly, protect the burner openings from spills, and help maintain a steady flame. You’ll get more consistent cooking when each cap sits flat and matches its burner.
Keep these parts clean and dry to support Cooking safety and simplify Stove maintenance.
- Block uneven heat that can scorch food.
- Shield burner ports from grease and debris.
- Help flames distribute beneath your cookware.
- Reduce clicking caused by moisture or residue.
- Support reliable ignition after cleaning.
Remove caps only when the stove is cool. Wash them with warm, soapy water, then rinse and dry completely before replacing them.
Don’t swap cap sizes or cover openings with foil, because restricted airflow can produce weak flames or yellow tips.
If a flame remains irregular after cleaning, turn off the burner and arrange professional service. You’ll protect performance and avoid unnecessary damage.
Grate Support and Stability
Once each burner cap sits correctly, the grates provide the stable surface your cookware needs. They keep pots and pans level above the flames, helping you cook safely and evenly. Cast iron or coated steel grates also spread weight across the cooktop, so heavy cookware won’t tip or slide easily.
You’ll get better performance when you place each grate on its designated supports. Check that it sits flat and doesn’t wobble before turning on a burner.
During stove maintenance, remove the grates and clean away grease, food particles, and spills that could interfere with stability. Let them cool first, and avoid dropping them, since cracks or damaged feet can create hazards.
Proper grate placement supports fire safety, protects your cookware, and helps your stove remain reliable for everyday cooking.
How Do Stove Control Knobs Work?
Stove control knobs let you adjust the heat by turning a shaft connected to a gas valve or electrical control switch. When you rotate a gas knob, the valve opens or closes, changing fuel flow and flame size.
On an electric range, the knob mechanism signals a control switch or thermostat, regulating power to the heating element. You’ll usually find markings that guide you from low to high settings, while a separate position may activate ignition or a burner circuit.
Key features include:
- Turning the knob clockwise or counterclockwise changes output.
- Detents help you feel distinct heat settings.
- A thermostat can cycle power to maintain temperature.
- Ignition may occur automatically on gas models.
- Removable knobs make cleaning and replacement easier.
Use gentle pressure and avoid forcing a stiff control, since you could damage the stem or valve. If a burner stays lit after you turn the knob off, shut off the fuel supply when possible and arrange professional service.
Always match replacement knobs to your stove model for safe, accurate operation.
What Is the Purpose of Drip Pans?
Drip pans catch food, grease, and spills beneath stove burners, protecting the cooktop and surrounding components from buildup. They also make cleanup easier by collecting messes you can remove instead of scrubbing the stove surface. When you lift a pan, you can wipe away residue and check for burned-on grease or trapped debris.
Drip pan material affects durability, appearance, and cleaning. Stainless steel pans resist corrosion and offer a polished look, while porcelain-coated pans provide a smooth, easy-to-wipe surface. Some models use disposable aluminum pans, which you can replace when they become heavily soiled.
Check your stove’s specifications before buying replacements, because pans must match the burner size and shape.
Regular drip pan maintenance helps prevent odors, smoke, stains, and pest-attracting buildup. Let each pan cool before removing it, then wash it with warm water and dish soap.
For stubborn residue, soak the pan and use a nonabrasive scrubber. Replace warped, cracked, or rusted pans promptly.
Which Parts Heat the Oven?
Your oven uses the bake heating element to provide steady heat and the broil heating element to deliver intense heat from above. An oven temperature sensor monitors the interior temperature and helps maintain your selected setting.
Now, let’s look at how each part supports the cooking process.
Bake Heating Element
The bake heating element is the part that produces the steady heat needed to cook food in the oven. You’ll usually find it along the oven’s bottom, where it warms the air and cookware for baking, roasting, and casseroles.
Your oven cycles this element on and off to maintain the selected temperature, so a faint glow may appear during operation.
Watch for these signs of proper performance:
- Food cooks evenly from below.
- The element glows red during heating.
- Temperature recovery happens quickly.
- No cracks or blistered areas appear.
- Connections remain secure and undamaged.
If your oven stays cold, inspect the bake heating element after switching off power and letting everything cool. Don’t touch it while hot.
A failed element may show visible damage or produce uneven results. Although the oven broil element serves a different heating function, you shouldn’t confuse it with this lower component.
Broil Heating Element
Above the oven cavity, the broil heating element delivers intense, direct heat for browning, crisping, and quickly cooking food. When you select Broil, this element glows red and radiates heat downward onto your food.
You’ll use it to finish casseroles, melt cheese, sear meats, or toast toppings without relying on the bake element. Position your rack according to your recipe: a higher rack brings food closer to the heat for faster browning, while a lower rack reduces scorching.
Keep the oven door open or closed as your manufacturer recommends, and watch food closely because broiling works quickly. Don’t cover the element with foil; instead, use a broiler pan or another heat-safe cooking surface that lets grease drain safely.
Replace the element if it cracks, burns unevenly, or stops heating.
Oven Temperature Sensor
How does your oven know when to stop heating? An oven temperature sensor monitors the cavity’s heat and sends readings to the control board. When the temperature reaches your selected setting, the board cycles the heating elements off; as the oven cools, it turns them on again.
You’ll usually find this slender probe mounted on the back wall, where it must remain uncovered.
Watch for these clues when the sensor struggles:
- Uneven baking despite correct settings
- Temperature swings or slow preheating
- Burned or undercooked food
- Error codes on the display
- A probe that looks damaged or loose
You can test the sensor’s resistance with a multimeter, but disconnect power first. If readings fall outside your manual’s specifications, replace it.
Accurate thermostat calibration also matters, so adjust the control only after confirming the sensor works correctly.
How Do Oven Racks Support Cooking?
Oven racks support cooking by positioning your food at different heights inside the oven, which helps control its exposure to heat. You can place a rack near the top for stronger browning, use the center for balanced, even cooking, or choose the lower position to give the bottom more heat.
Adjusting rack placement helps you bake multiple dishes while leaving enough space for hot air to circulate around each pan. Before cooking, check your recipe for its recommended rack position.
You should also avoid crowding the oven, since blocked airflow can create uneven results. Use sturdy racks that slide securely into their guides, and pull them out carefully with oven mitts to improve Cooking safety.
Clean spills after the oven cools to prevent smoke and unpleasant odors. During oven maintenance, inspect racks for bending, damaged coating, or rough edges, and replace them if they no longer move smoothly or support cookware safely.
What Does the Oven Door Include?
An oven door includes the outer panel, inner glass, handle, hinges, and a sealing gasket that helps retain heat. Together, these oven door components create a controlled barrier between you and the hot cooking chamber.
The outer panel stays cooler to the touch, while the inner glass lets you check food without opening the door. The handle gives you a secure grip, and sturdy hinges support smooth, balanced movement.
Key features include:
- Outer panel: protects internal layers and provides the finished appearance.
- Inner glass: withstands high temperatures and offers visibility.
- Handle: helps you open and close the door safely.
- Hinges: guide movement and hold the door in position.
- Door seal: limits heat loss around the edges.
When you close the door, the gasket presses against the frame to reduce heat escape and support even cooking. A properly aligned door also helps the oven maintain its selected temperature efficiently.
You’ll find these parts designed to work together, so the door opens reliably and closes firmly during use.
Which Stove Parts Need Regular Cleaning?
Regular cleaning keeps your stove safe, efficient, and easier to use. Wipe the cooktop after each use to remove spills, grease, and food particles before they harden.
Wipe your cooktop after every use to prevent spills, grease, and food particles from hardening.
Pay special attention to control knobs, since grime can affect their movement and hide settings. Clean burner caps, grates, and drip pans regularly, following your stove’s care instructions.
If you have an electric model, wipe around the heating elements only after they’ve cooled completely, and don’t immerse electrical parts in water.
Inside the oven, remove loose crumbs and scrub baked-on residue from the racks, walls, and floor. Clean the oven door’s glass and edges so you can see your food clearly and prevent buildup around the seal.
Include the vent and filter in your Stove maintenance routine because blocked openings can trap grease and restrict airflow. Set practical Cleaning schedules: wipe surfaces daily, wash removable parts weekly, and deep-clean the oven monthly or as needed.
Always unplug or cool the stove before cleaning.
When Should You Replace Stove Parts?
Replace stove parts when they’re damaged, worn, or no longer work safely and efficiently. Prompt replacement protects Kitchen safety and helps you avoid fires, gas leaks, burns, and unreliable cooking.
Check parts during routine Appliance maintenance, and don’t wait for a complete failure if you notice warning signs.
- Replace cracked glass cooktops immediately to prevent cuts and electrical hazards.
- Change warped or loose burner grates when pans wobble or slide.
- Replace burners that produce uneven flames, yellow flames, or persistent clicking.
- Install a new heating element when it stays cold, overheats, or shows damage.
- Replace faulty knobs, switches, or seals when controls slip, stick, or leak.
Always turn off electricity or gas before inspecting removable components. If you smell gas, shut off the supply, leave your home, and contact a professional.
Use manufacturer-approved parts because incorrect components can damage your stove or void its warranty. A qualified technician should handle internal wiring, gas valves, and control boards.
Replacing worn parts promptly keeps your stove efficient, dependable, and safer for everyone.
Frequently Asked Questions
How Much Does Professional Stove Parts Replacement Typically Cost?
You’ll typically pay $150–$400 for professional stove parts replacement, including labor, though complex repairs can reach $600 or more. Your final price depends on the part, stove type, technician rates, and local service fees.
A cost comparison can help you choose between repairing and replacing the appliance. Ask for a written estimate, warranty details, and repair timelines before approving work.
You’ll often receive same-day service when common parts are available.
Can Stove Parts From Different Brands Be Used Interchangeably?
Sometimes, stove parts fit like square pegs in round holes, so you can’t assume different brands work interchangeably. Check each component’s model number, dimensions, voltage, gas type, connectors, and mounting points before buying.
Brand compatibility varies, and part interchangeability usually applies only to standardized items, such as knobs or universal igniters. You’ll protect your stove and your warranty by confirming manufacturer specifications or asking a qualified technician first.
Are Electric and Gas Stove Parts Compatible With Each Other?
Electric and gas stove parts usually aren’t compatible with each other because each appliance uses different power sources, controls, and heating systems. You’ll need to match replacement parts to your stove’s exact type, model, and manufacturer.
For Electric compatibility, choose components designed for electric heating elements, wiring, and thermostats. For Gas compatibility, select parts made for burners, igniters, valves, and gas pressure.
Don’t interchange parts unless the manufacturer specifically approves them.
Where Can You Find Replacement Parts for Older Stove Models?
You can find replacement parts for older stove models through vintage appliance dealers, manufacturer archives, authorized service centers, and online marketplaces. Coincidentally, that dusty stove in your kitchen may share a part number with another vintage appliance across town.
Search your model and serial numbers before ordering, then compare measurements and connections carefully. Specialty repair shops often stock spare components, while local salvage stores may offer affordable alternatives for discontinued items.
What Safety Precautions Should You Take Before Repairing a Stove?
Before repairing a stove, disconnect its power and unplug it, or switch off the correct circuit breaker. For gas models, shut off the gas supply and ventilate the room.
Wear safety gear, including insulated gloves and eye protection. Confirm electrical safety with a voltage tester before touching wires.
Let hot surfaces cool completely, keep a fire extinguisher nearby, and consult the manual. If you smell gas or feel unsure, stop and call a qualified technician.
Conclusion
Understanding your stove’s main parts helps you cook safely and confidently. Burners create heat, while caps, grates, knobs, and drip pans direct, control, and contain it.
Inside the oven, racks support your dishes, and the door seals in heat. Keep these components clean, inspect them regularly, and replace damaged pieces promptly.
Coincidentally, that small rattle you noticed today could signal a loose grate or worn part, so don’t ignore it. A little attention now can prevent bigger problems later and help you better understand your stove’s main parts.